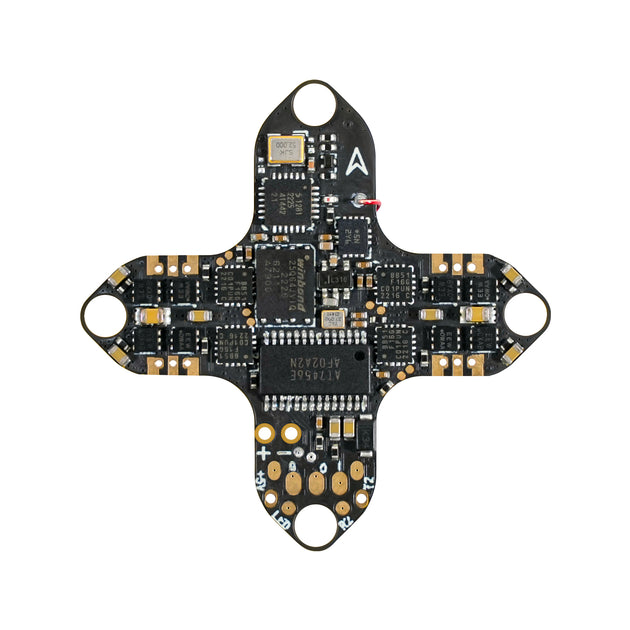
Best FPV Drones for Beginners: A Practical Buying Framework
A buyer-intent guide that explains how beginners should compare whoops, toothpicks, cinewhoops, and starter kits without pretending to be hands-on testing.
Best FPV Drones for Beginners: A Practical Buying Framework
The Crash-Proof Start: Top FPV Drones for Beginners That Forgive Your Mistakes (and Your Wallet) – A Guide to Your First Successful FPV Journey
Ever dreamed of soaring through the sky like a bird, experiencing the world from a first-person perspective? FPV (First Person View) drones offer an unparalleled immersive experience, combining the thrill of flight with the precision of a pilot in the cockpit. But for beginners, the journey can seem daunting. With complex setups, steep learning curves, and the inevitable crashes, it's easy to feel overwhelmed. You might envision expensive gear shattering on impact or spending hours troubleshooting instead of flying.
But what if we told you there's a way to start your FPV adventure that's forgiving, fun, and won't break the bank? This guide is your crash-proof start to finding the best FPV drones for beginners, designed to help you master the skies without emptying your wallet or your patience. We'll demystify the jargon, recommend proven gear, and equip you with the knowledge to make your first FPV flight a success, not a disaster.
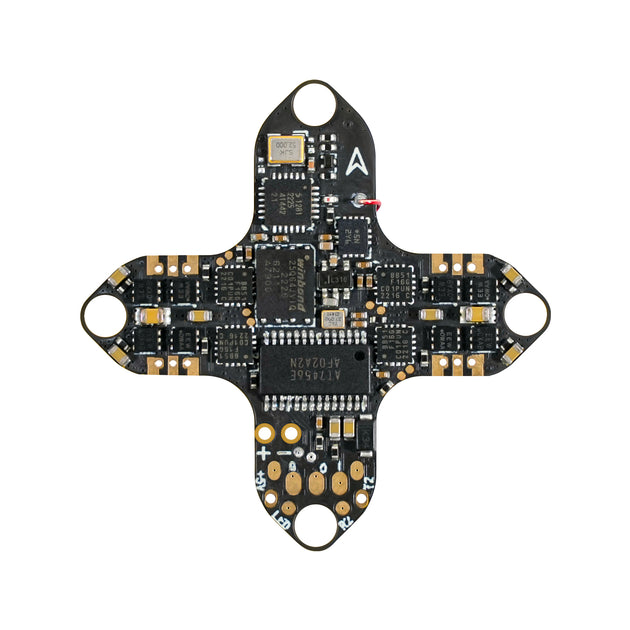
The Call of the Skies: Why FPV Drones for Beginners?
FPV flying isn't just about controlling a drone; it's about becoming one with it. This unique perspective opens up a world of possibilities, from intricate acrobatic maneuvers to breathtaking cinematic shots.
What Makes FPV Flying Unique?
Unlike traditional camera drones that you pilot by looking at the drone itself or a map on a screen, FPV flying immerses you directly into the drone's perspective through a pair of goggles. This "first-person view" creates an incredibly realistic sensation of flight, allowing for precise control and dynamic movements that are simply not possible with line-of-sight flying. You can weave through obstacles, perform flips and rolls, or chase subjects with an agility that feels like an extension of your own will. It's an adrenaline rush, a creative outlet, and a challenging hobby all rolled into one.
Common Hurdles for New FPV Pilots
While exhilarating, the world of FPV can present several challenges for newcomers:
- Steep Learning Curve: FPV drones, especially in "Acro" mode, require significant practice to master. They don't self-level like GPS-stabilized camera drones.
- Fragility: Many high-performance FPV drones are built for speed and agility, not necessarily for crash resistance. This can lead to frequent repairs and added costs.
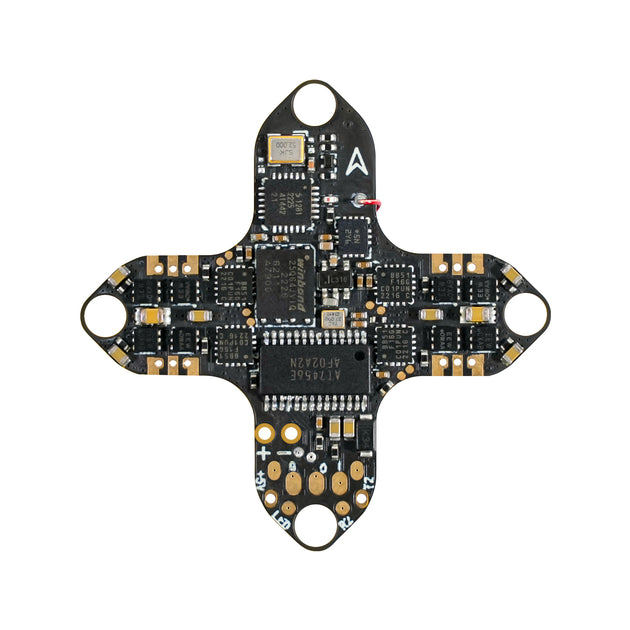
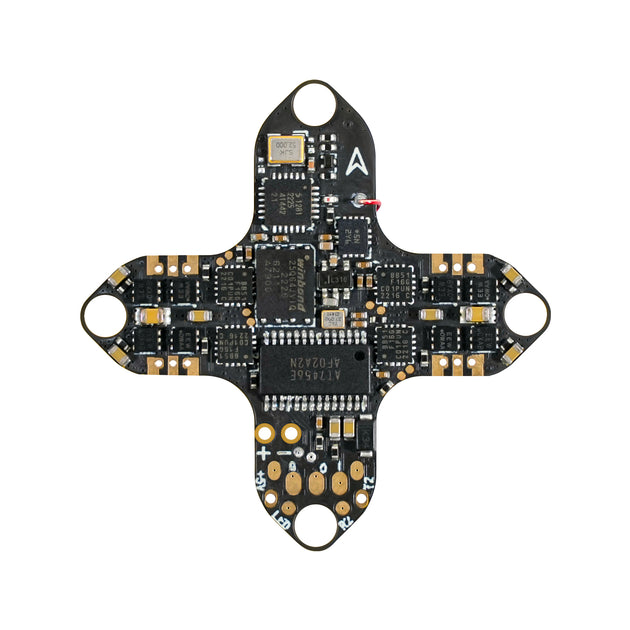
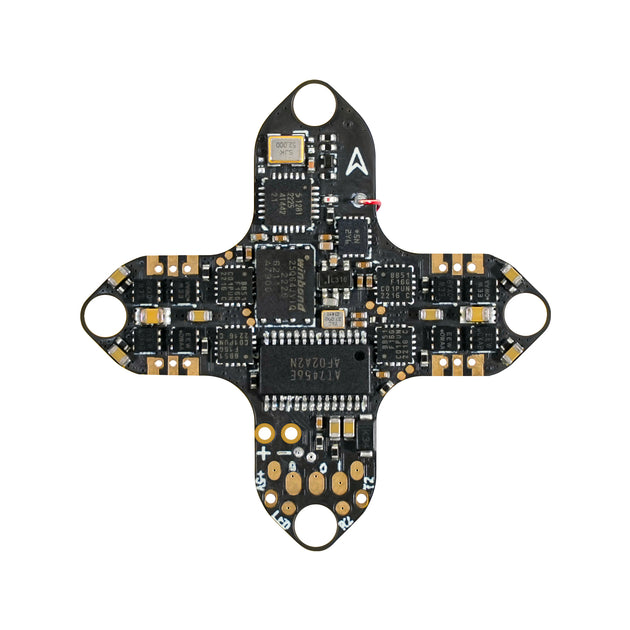
- Complex Setup: Understanding components like flight controllers, ESCs, motors, VTXs, and receivers, and then getting them to communicate, can be overwhelming.
- Cost: A full FPV setup (drone, goggles, radio, batteries, charger) can be a significant investment.
- Confusion with Terminology: RTF, BNF, PNP, Analog, Digital, 1S, 6S – the jargon can be a barrier to entry.
How This Guide Helps You Navigate Your First FPV Journey
This guide is designed to cut through the complexity and provide a clear roadmap for your beginner FPV journey. We'll focus on:
- Simplifying Choices: Recommending specific, proven beginner-friendly drones and kits.
- Prioritizing Durability: Highlighting drones that can withstand initial crashes.
- Explaining Essentials: Breaking down key concepts and gear requirements.
- Cost-Effective Solutions: Showing you how to get into FPV without breaking the bank.
- Practical Tips: Sharing insights from experienced pilots to accelerate your learning.
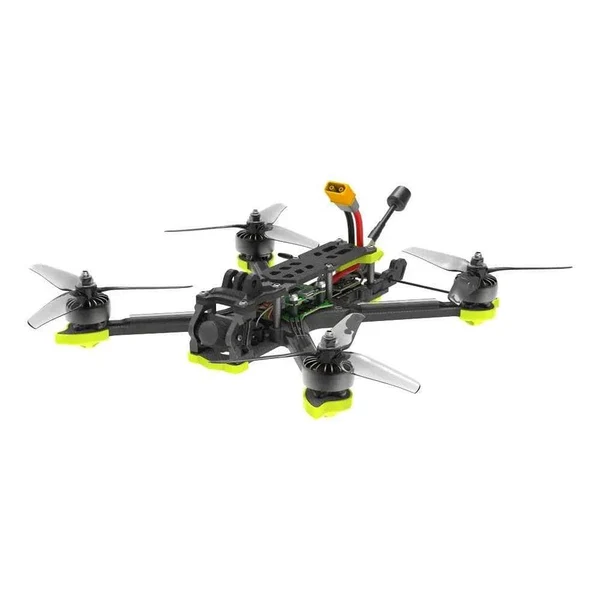
Decoding Beginner-Friendly FPV: What to Look For
Choosing your first FPV drone is crucial. It needs to be forgiving, easy to maintain, and provide a good learning platform.
Crash-Proof Design & Durability: Surviving the First Tumbles
Your first FPV drone will crash. It's an inevitable part of the learning process. Therefore, durability is paramount. Look for:
- Small Size and Lightweight: Smaller drones carry less momentum, causing less damage to themselves (and surroundings) during a crash. They are also less intimidating to fly.
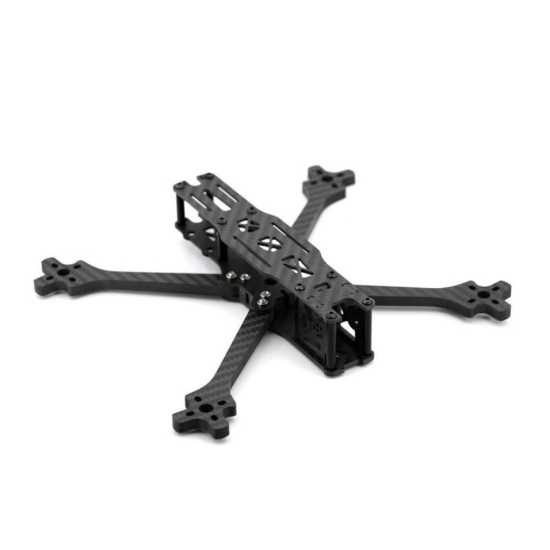
- Robust Materials: Frames made from resilient plastics or composite materials with integrated prop guards are ideal. Carbon fiber is strong but can be brittle on impact if not designed well.
- Prop Guards: These plastic rings around the propellers protect them from collisions with walls, trees, or even your fingers. They are essential for indoor flying and highly recommended for outdoor beginners.
- Brushless Motors: While slightly more expensive than brushed motors, brushless motors are significantly more durable, efficient, and powerful. They are standard on most hobby-grade FPV drones.
- Ease of Repair: Drones with modular designs and readily available, inexpensive spare parts will save you headaches and money in the long run.
Flight Modes & Stability Features: Easing into Control
FPV drones offer different flight modes, and understanding them is key to a smooth start:
- Angle Mode (Self-Leveling): This is where every beginner should start. In Angle mode, the drone automatically levels itself when you release the control sticks, much like a regular camera drone. It prevents you from over-tilting and makes initial flights much more manageable.
- Acro Mode (Rate Mode): This is the ultimate goal for FPV pilots. In Acro mode, the drone does not self-level. It holds the angle you command it to, allowing for complete freedom of movement, flips, rolls, and advanced maneuvers. It requires precise stick control and is best practiced extensively in a simulator first.
- Altitude Hold: While less common on true FPV freestyle drones, some beginner models or "cinewhoops" might offer basic altitude hold, which can further simplify initial flights by maintaining a consistent height.
- Turtle Mode: A lifesaver! If your drone crashes upside down in grass or a soft spot, Turtle Mode allows you to flip it back over using your remote control, saving you a walk of shame.
Ready-to-Fly (RTF) vs. Bind-N-Fly (BNF) vs. Plug-N-Play (PNP) Explained
These terms define how complete your drone package is:
- Ready-to-Fly (RTF): This is the gold standard for beginners. An RTF kit includes everything you need to fly: the drone, a radio transmitter (controller), FPV goggles, batteries, and a charger. All components are pre-bound and configured, meaning you can charge up and fly almost immediately. It ensures compatibility and eliminates complex setup headaches.
- Bind-N-Fly (BNF): A BNF drone comes fully assembled but does not include a radio transmitter or goggles. It has a receiver that's ready to "bind" with a compatible radio you already own (or purchase separately). This is a good option if you want to upgrade your drone but keep your existing radio and goggles.
- Plug-N-Play (PNP): A PNP drone is the most basic kit. It comes assembled but without a receiver, radio transmitter, or goggles. You'll need to install your own receiver and then bind it to your radio. This option is typically for experienced builders who want full control over their component choices.
Expert Tip: For your very first FPV setup, always choose an RTF kit. It removes all the guesswork and lets you focus purely on flying.
Cost-Effectiveness: Balancing Price and Performance for Your First FPV Drone
While FPV can be an expensive hobby, there are excellent beginner options that offer great value.
- Initial Investment: Expect to spend anywhere from $200 to $400 USD for a decent beginner RTF kit. This includes a small, durable drone, a basic radio, and entry-level goggles.
- Repair Costs: Factor in the cost of spare parts, especially propellers. Durable beginner drones are designed to minimize serious damage, but props are consumables.
- Upgrade Path: Many beginner RTF kits use standard components, allowing you to gradually upgrade parts (like a better radio or goggles) as your skills and budget grow. Investing in a good radio from the start (even if it's not part of an RTF kit) is often recommended as it can be used with many future drones.
The Indispensable Training Ground: FPV Simulators
Before you even think about flying your physical drone, you must spend time on an FPV simulator. This is not optional; it's non-negotiable.
Why Simulation is Non-Negotiable for New Pilots
FPV simulators are virtual training grounds that replicate the physics and experience of flying a real FPV drone. They offer immense benefits:
- Zero Risk, Zero Cost: Crash as many times as you like without damaging your drone or emptying your wallet on spare parts.
- Develop Muscle Memory: Simulators allow you to practice stick movements and develop the fine motor skills required for FPV flying without real-world consequences.
- Learn Control Inputs: Master Angle mode, then transition to Acro mode in a safe environment.
- Experiment Freely: Try out different maneuvers, settings, and scenarios without fear.
- Build Confidence: Gain proficiency in the simulator, and you'll feel much more confident when you finally take to the real skies.
Choosing the Right FPV Simulator for Beginners
Several excellent FPV simulators are available, each with its strengths:
- Velocidrone: Often praised for its realistic physics, especially for racing. Great for developing precision.
- Liftoff: Known for its stunning graphics and wide variety of maps and drones. Excellent for freestyle practice.
- DRL Simulator (Drone Racing League): Focuses on racing and has a competitive online community.
- Uncrashed: Features beautiful, open-world environments ideal for cinematic and freestyle flying.
Most simulators cost around $10-$20. You'll need a compatible FPV radio to connect to your computer to use them effectively.
Maximizing Your Simulator Practice: Tips for Rapid Progress
- Use Your Actual FPV Radio: Always connect the radio you plan to use for flying your real drone to the simulator. This ensures muscle memory transfers directly.
- Consistent Practice: Dedicate 15-30 minutes daily to simulator practice rather than one long session once a week. Consistency is key.
- Start Simple: Master basic hovering, forward flight, turns, and landing in Angle mode before attempting Acro.
- Focus on Acro: Once comfortable with basics, switch to Acro mode. It will feel incredibly difficult at first, but persevere. This is where true FPV flying happens.
- Don't Get Frustrated: Everyone struggles in the simulator initially. It's part of the process. Celebrate small victories and keep practicing.
Top FPV Drone Categories for Your First Flight
Let's look at the specific types of drones that are perfect for beginners.
Tiny Whoops & Micro Drones: Indoor Fun & Skill Building
Tiny Whoops are small, ducted propeller drones, typically 65mm to 85mm in size, powered by 1S (single cell) or 2S batteries. They are incredibly popular for beginners due to their:
- Safety: Ducted props make them safer to fly indoors around people and furniture.
- Durability: Their lightweight, flexible frames and prop guards make them extremely crash-resistant.
- Affordability: Both the drones and spare parts (especially props) are inexpensive.
- Skill Transfer: Flying a Tiny Whoop indoors teaches you essential FPV controls and spatial awareness that directly translates to larger drones.
Recommended Models:
- BetaFPV Meteor Series (e.g., Meteor65, Meteor75, Meteor85): BetaFPV is a leader in tiny whoops. The Meteor series offers excellent brushless performance, good build quality, and often comes in RTF kits. They are fantastic for learning both Angle and Acro modes.
- Specs: Typically 1S LiPo, 0802/0802SE brushless motors, 31mm-40mm props.
- Real-world performance: Agile, forgiving, great for navigating tight spaces.
- EMAX Tinyhawk Series (e.g., Tinyhawk II, Tinyhawk III): EMAX offers incredibly popular and robust Tiny Whoop options. The Tinyhawk II and III are renowned for their durability and excellent flight characteristics, often available as comprehensive RTF kits.
- Specs: Can be 1S or 2S capable (e.g., Tinyhawk II Freestyle is 1-2S), 0802/1103 motors, 40mm-65mm props.
- Real-world performance: Very durable, punchy for their size, a great balance of indoor and light outdoor capability.
Small Freestyle & Cinewhoop Style Drones: Stepping Outdoors
Once you've mastered the basics with a Tiny Whoop, you might want to venture outdoors. Small freestyle drones (2.5-inch to 3-inch props) and Cinewhoops offer more power and better wind resistance.
- Small Freestyle Drones: These are slightly larger and more powerful than Tiny Whoops, designed for light outdoor freestyle flying. They are still relatively durable but lack full prop guards.
- Recommended Model: EMAX Tinyhawk III Freestyle: A 2.5-inch drone that provides a fantastic outdoor experience. It's durable, responsive, and a great stepping stone from whoops to larger freestyle quads.
- Specs: 1-2S LiPo, 1202.5 5500kv motors, 2.5-inch props.
- Real-world performance: Good power-to-weight, handles light wind well, excellent for learning outdoor maneuvers.
- Recommended Model: EMAX Tinyhawk III Freestyle: A 2.5-inch drone that provides a fantastic outdoor experience. It's durable, responsive, and a great stepping stone from whoops to larger freestyle quads.
- Cinewhoop Style Drones: These drones feature fully ducted propellers, similar to Tiny Whoops but larger (2.5-inch to 3.5-inch). They are designed for smooth, cinematic footage, often indoors or in proximity to people, due to their safety and stability.
- Recommended Model: BetaFPV Pavo20/Pavo30: These ducted quads are fantastic for beginners looking for a more stable outdoor platform or for capturing smooth footage.
- Specs: Pavo20 (2-3S, 2-inch props), Pavo30 (3-4S, 3-inch props), powerful brushless motors, lightweight carbon fiber frame with injection-molded ducts.
- Real-world performance: Very stable, quiet, incredibly durable thanks to the ducts, great for learning smooth lines.
- Recommended Model: BetaFPV Pavo20/Pavo30: These ducted quads are fantastic for beginners looking for a more stable outdoor platform or for capturing smooth footage.
All-in-One RTF Kits: The Easiest Entry Point to FPV
For absolute beginners, an All-in-One (AIO) RTF kit is often the most straightforward and cost-effective way to get started. These kits provide everything you need in one box.
Recommended All-in-One RTF Kits:
- BetaFPV Cetus X RTF Kit: One of the most highly recommended RTF kits for beginners. It includes a durable 85mm drone (Cetus X), a decent radio (LiteRadio 3), and comfortable box goggles (VR03 FPV Goggles).
- Specs: Cetus X drone (2S, 1102 18000KV motors, 40mm props), LiteRadio 3 (ELRS/Frsky options), VR03 Goggles.
- Real-world performance: Excellent value, the drone is robust and flies well for learning, and the radio and goggles are perfectly adequate for a beginner. It's a complete package that truly gets you flying quickly.
- EMAX Tinyhawk III Plus RTF Kit: This kit bundles the popular Tinyhawk III Plus drone with EMAX's own radio and goggles. It's another fantastic option known for its reliability and the Tinyhawk's legendary durability.
- Specs: Tinyhawk III Plus (1S, 08025 15000kv motors, 40mm props), EMAX E8 radio, Transporter 2 Goggles.
- Real-world performance: Extremely durable, great for indoor and light outdoor flying, good quality components for a beginner kit.
While brands like Syma or JJRC offer entry-level toy drones, for a true FPV experience and a clear upgrade path, focusing on specialist FPV manufacturers like BetaFPV, EMAX, and Happymodel is highly recommended. Diatone, for example, is known for its high-quality frames, but usually for more advanced builds.
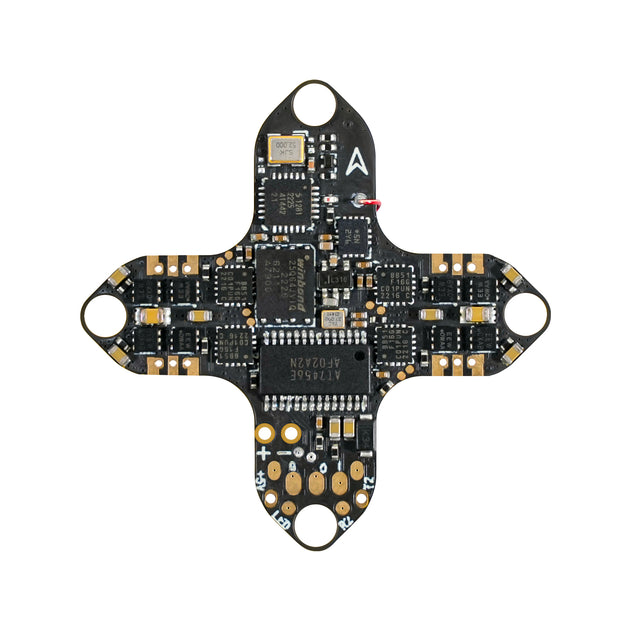
Beyond the Drone: Essential Gear for Your FPV Setup
A drone is only one part of the FPV puzzle. You'll need other critical components to truly experience FPV.
FPV Goggles: Your Window to the World
Your goggles are your eyes in the sky. They display the video feed from your drone.
- Analog vs. Digital:
- Analog: The traditional FPV system. Cheaper, lower latency, but lower resolution and susceptible to static/interference. Great for beginners on a budget.
- Digital: Higher resolution, clearer image, but more expensive and can have slightly higher latency (though rapidly improving). Systems like DJI O3 Air Unit, Walksnail Avatar, and HDZero are popular.
- Box Goggles vs. Compact Goggles:
- Box Goggles: Larger, often cheaper, and have a single large screen inside. They are comfortable for glasses wearers and offer a wide field of view. Excellent for beginners (e.g., EMAX Transporter 2, BetaFPV VR03).
- Compact Goggles: Smaller, more portable, usually with two separate screens (one for each eye). More expensive but offer a more immersive feel. (e.g., Fat Shark, Skyzone, Orqa, DJI Goggles 2).
- Key Consideration: For beginners, analog box goggles are a perfect starting point. They are affordable, durable, and provide a clear enough image to learn on. Many RTF kits include good beginner box goggles.
Batteries, Chargers, and Power Management Essentials
LiPo batteries are the lifeblood of your FPV drone, and proper handling is crucial.
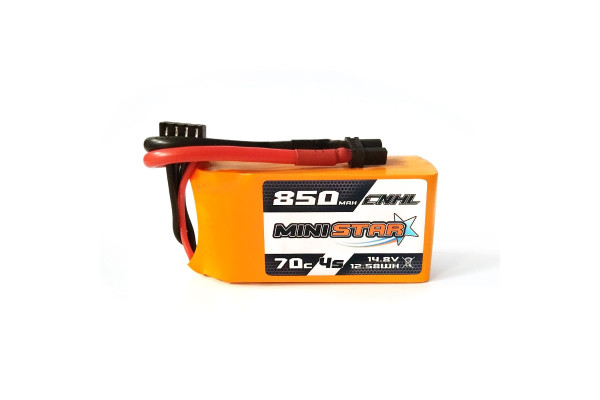
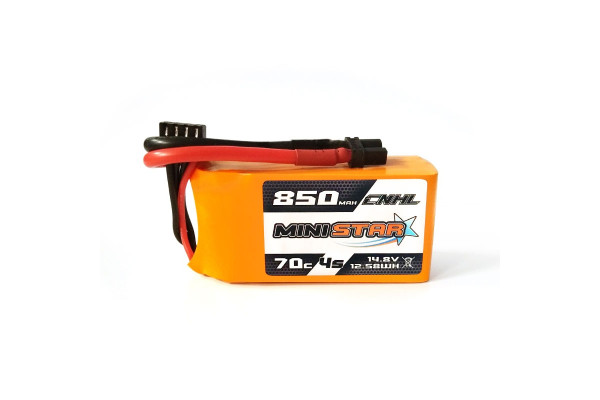
- LiPo Batteries: FPV drones use Lithium Polymer (LiPo) batteries. They are powerful but require careful handling.
- Cell Count (S): 1S (single cell), 2S (two cells in series), 3S, 4S, 6S. Beginner drones typically use 1S or 2S. Higher S-counts mean more power and speed.
- mAh (Milliampere-hour): Indicates capacity. Higher mAh means longer flight time but more weight.
- C-Rating: Indicates how quickly the battery can safely discharge. Higher C-rating is better for punchy flight.
- LiPo Charger: You'll need a balance charger specifically designed for LiPo batteries. It ensures all cells in a multi-cell battery are charged equally, preventing damage and extending battery life.
- Recommended: A basic balance charger like the SkyRC iMAX B6 Mini or a ToolkitRC M4AC is excellent for beginners.
- LiPo Safety:
- Always charge on a fire-resistant surface.
- Use a LiPo safe bag.
- Never overcharge or over-discharge.
- Store at "storage voltage" (around 3.8V per cell) if not flying for extended periods.
- Never puncture or damage a LiPo battery.
Spare Parts and Basic Tools: Be Prepared for Anything
Even the most durable beginner drone will eventually need maintenance.
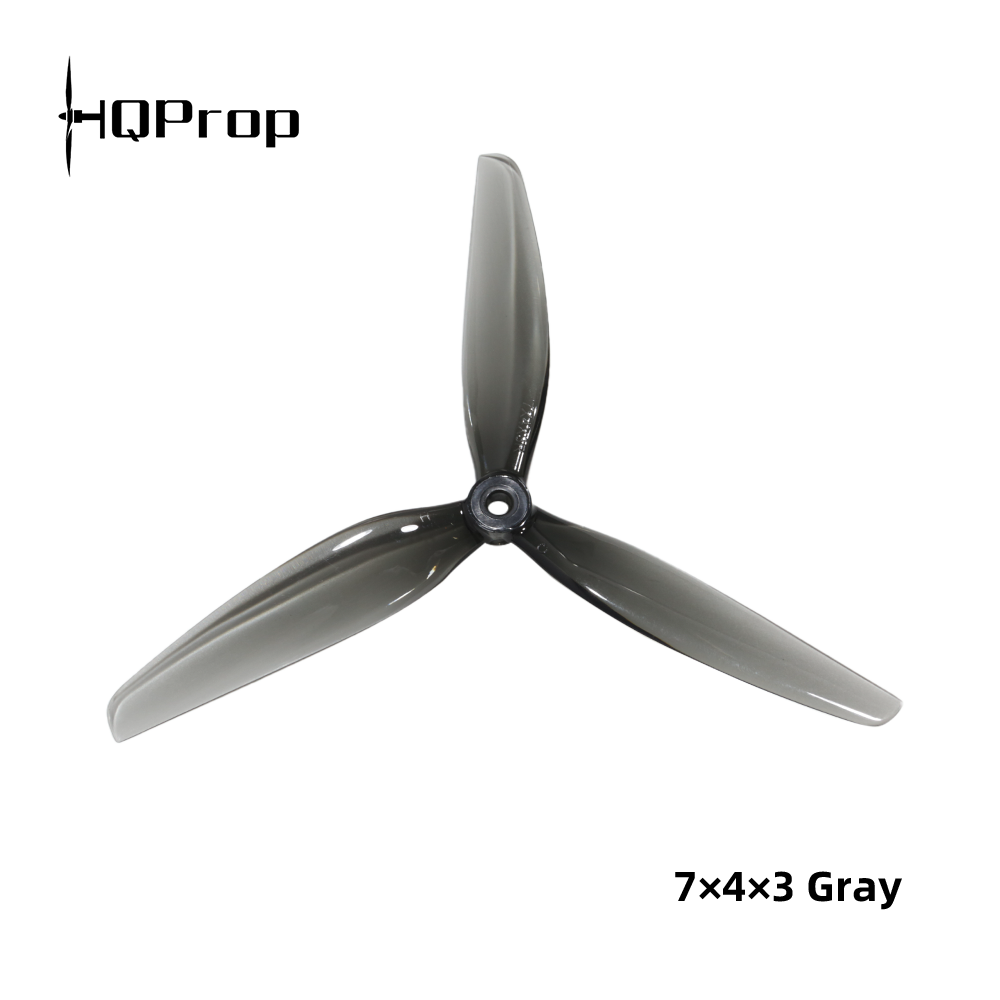
- Propellers: Buy many! Props are the most common casualty in FPV. Always have spares.
- Screwdriver Set: A small set of hex drivers (1.5mm, 2.0mm) is essential for tightening screws and basic repairs.
- Zip Ties: Handy for securing wires or temporarily fixing minor frame damage.
- Soldering Iron (Optional but Recommended): While not strictly necessary for RTF kits initially, learning basic soldering skills will save you money on repairs (e.g., replacing a motor wire) and open up customization options later. A basic 60W adjustable temperature iron is sufficient.
- Tweezers: Useful for handling tiny components and wires.
Buyer's Guide: Making Your First FPV Purchase
Making that first purchase can feel overwhelming. Here's how to approach it.
Setting Your Budget: What to Expect from a Beginner FPV Drone
As mentioned, a good beginner FPV setup typically costs $200-$400 USD. This usually covers:
- RTF Kit (Drone + Radio + Goggles + Batteries + Charger): This is your best value for money and the easiest starting point. Expect the components to be entry-level but perfectly functional for learning.
- Individual Components (if building up):
- Drone (BNF): $100-$250 (e.g., EMAX Tinyhawk III Plus BNF)
- Radio Transmitter: $50-$200 (e.g., Radiomaster Zorro, Jumper T-Lite V2, BetaFPV LiteRadio 3)
- FPV Goggles: $100-$300 (Analog box goggles like Eachine EV800D or higher-end analog like Skyzone Cobra X)
- Batteries & Charger: $50-$100 (multiple batteries are a must for more flight time)
Remember, investing a little more initially in a quality RTF kit can save you frustration and potential upgrade costs down the line.
Prioritizing Features for Your Learning Style and Goals
- Durability and Crash Resistance: Always prioritize this. A drone that can take a beating means more flight time and less repair time.
- RTF Package: For absolute beginners, the convenience and compatibility of an RTF kit are unmatched.
- Flight Modes: Ensure it supports both Angle and Acro modes so you can progress.
- Availability of Spare Parts: Check that props, motors, and frames are easily available and affordable.
- Community Support: Drones with large user communities (like BetaFPV or EMAX) mean more tutorials and help available online.
- Indoor/Outdoor Capability: If you live in an apartment, a Tiny Whoop is ideal. If you have open spaces, a small freestyle or Cinewhoop might be better.
Where to Buy: Reputable Retailers and Community Resources
Stick to well-known FPV retailers to ensure product authenticity, warranty, and customer support.
- International Online Stores:
- GetFPV, RaceDayQuads: US-based, excellent selection, fast shipping (within US).
- HobbyKing: Global retailer, wide range of products, including beginner drones and batteries.
- Banggood, AliExpress: Often have competitive prices, but shipping can be slower, and customer support might be less responsive. Be cautious with sellers.
- Specific Brand Stores: Many FPV brands like BetaFPV, EMAX, and Happymodel have their own official stores.
- Local FPV Shops: If you're lucky enough to have one, they often provide excellent advice and support.
Remember that while brands like JJRC, Syma, Cheerson, FlyPro, or FuriBee might appear in general drone searches, for a dedicated FPV learning experience, focus on brands that specialize in FPV micro drones and RTF kits like BetaFPV, EMAX, and Happymodel. These brands are designed with the FPV learning curve in mind.
Frequently Asked Questions (FAQ)
What is the easiest FPV drone to learn on?
The easiest FPV drones to learn on are Tiny Whoops and micro drones, especially those available in Ready-to-Fly (RTF) kits like the BetaFPV Cetus X RTF Kit or the EMAX Tinyhawk III Plus RTF Kit. Their small size, lightweight, ducted propellers (for Whoops), and durable construction make them forgiving of crashes, and the RTF package simplifies the setup process. Always start with extensive simulator practice before flying the physical drone.
How much does a good beginner FPV drone cost?
A good beginner FPV drone setup, typically an all-inclusive Ready-to-Fly (RTF) kit, will cost approximately $200 to $400 USD. This price usually includes the drone, a basic radio transmitter, entry-level FPV goggles, batteries, and a charger, providing everything you need to start flying.
Do I need a simulator before flying an FPV drone?
Yes, absolutely. Using an FPV simulator is non-negotiable for new pilots. It allows you to develop essential muscle memory, learn control inputs (especially Acro mode), and practice maneuvers without the risk or cost of crashing a physical drone. Simulators like Velocidrone, Liftoff, or DRL Simulator are highly recommended.
What's the difference between RTF, BNF, and PNP for a beginner?
- RTF (Ready-to-Fly): The best option for beginners. Includes everything you need to fly: drone, radio, goggles, batteries, and charger. All components are pre-configured.
- BNF (Bind-N-Fly): The drone is fully assembled with a receiver, but does not include a radio or goggles. You need to provide your own compatible radio and bind it.
- PNP (Plug-N-Play): The drone is assembled but without a receiver, radio, or goggles. You need to install your own receiver and bind it, and provide your own radio and goggles. This is for experienced builders.
What features are most important for a beginner FPV drone?
For a beginner FPV drone, the most important features are:
- Durability & Crash Resistance: Small size, prop guards, robust materials, and easily replaceable parts.
- Ready-to-Fly (RTF) Kit: Simplifies setup and ensures component compatibility.
- Flight Modes: Must support Angle Mode for initial learning and Acro Mode for progression.
- Cost-Effectiveness: Affordable initial investment and low repair costs.
- Brushless Motors: More durable and powerful than brushed motors.
Your FPV Journey Starts Here: Take Flight!
The world of FPV is exciting, challenging, and incredibly rewarding. While it may seem complex at first, choosing the right beginner-friendly gear and dedicating time to simulator practice will set you up for success. Remember, every FPV pilot, no matter how skilled, started exactly where you are now – with a dream of flight and a few (or many!) crashes along the way.
By focusing on durable, forgiving drones like the BetaFPV Cetus X or EMAX Tinyhawk series, embracing the power of FPV simulators, and understanding the core components, you're not just buying a drone; you're investing in an incredible new hobby. Don't be afraid to make mistakes; they are crucial steps in your learning process.
Ready to experience the adrenaline of FPV? Explore our recommended beginner FPV drones and start your immersive flying adventure today! The skies are calling, and your crash-proof journey begins now!
RELATED GUIDES
Copyright-safe media generated locally by FPVLovers
Catalog/source image: BETAFPV
Catalog/source image: iFlight
Catalog/source image: Flywoo
BETAFPV
iFlight
Flywoo