Cinewhoop Kit Buying Guide for Indoor and Real Estate FPV
A commercial cinewhoop guide for pilots comparing indoor, cinematic, and paid-shoot requirements.
Cinewhoop Kit Buying Guide for Indoor and Real Estate FPV
From Box to Sky: The Ultimate Guide to Choosing and Building Your Perfect Cinewhoop Kit for Cinematic FPV
Ever dreamt of capturing breathtaking, buttery-smooth cinematic footage from unique perspectives? The world of FPV drones offers unparalleled creative freedom, and at its heart for stunning close-quarters videography lies the cinewhoop. Compact, agile, and incredibly stable, cinewhoops are purpose-built to carry action cameras into tight spaces, delivering shots that traditional drones can only dream of. But where do you start? If the idea of building your own cinematic flying machine excites you, then a cinewhoop kit is your perfect launchpad. This ultimate guide will walk you through everything you need to know to choose, build, and fly the best cinewhoop kit for your cinematic FPV adventures.
The Allure of Cinematic FPV: Why Cinewhoops Reign Supreme
FPV drones have revolutionized aerial videography, offering a dynamic and immersive perspective. Among the diverse array of FPV craft, cinewhoops stand out as the undisputed champions of close-quarters, high-quality cinematic capture.
What is a Cinewhoop and Why Do You Need One?
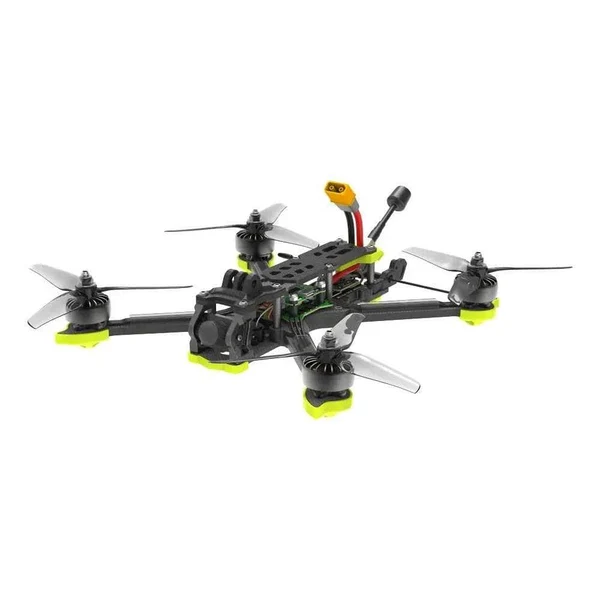
A cinewhoop is a type of FPV drone characterized by its ducted propellers. These protective ducts encase the propellers, offering several key benefits: enhanced safety for flying near people or objects, increased lift efficiency at lower speeds, and significant durability against minor bumps. Unlike aggressive racing drones, cinewhoops are designed for stable, precise flight, making them ideal for carrying an action camera like a GoPro or DJI Action Cam to capture smooth, flowing footage in challenging environments – think flying through abandoned buildings, weaving around subjects, or getting intimate shots in nature. If you want those "impossible" shots that tell a story, a cinewhoop is your essential tool.
The Advantages of Choosing a Cinewhoop Kit Over Pre-Built
While pre-built cinewhoops offer instant gratification, opting for a kit provides numerous advantages, especially for those looking to deepen their FPV knowledge:
- Learning Experience: Building a drone from scratch is an invaluable educational journey. You'll understand every component, how it works, and how they interact, making troubleshooting and future repairs much easier.
- Customization: Kits allow you to select specific components (within the kit's design) or upgrade parts later. Want a specific FPV camera or receiver? A kit gives you that flexibility.
- Cost-Effectiveness: Often, a kit can be more economical than buying a fully assembled drone, as you're not paying for assembly labor.
- Repairability: Having built it, you'll be intimately familiar with its construction, making crash repairs and part replacements straightforward.
Who is a Cinewhoop Kit For? (Beginner to Intermediate Pilots)
Cinewhoop kits are perfectly suited for:
- Beginner Pilots who have some soldering experience or are willing to learn, and want a deeper understanding of their drone.
- Intermediate Pilots looking to expand their fleet with a cinematic specific drone, or who want a custom build tailored to their preferences.
- Hobbyists who enjoy the process of building and tinkering as much as flying.
- Aspiring FPV Cinematographers who need a reliable, stable platform for high-quality video capture.
Decoding Your Cinewhoop Kit: Essential Components Explained
Understanding the individual parts that make up your cinewhoop is crucial, not just for building, but for troubleshooting and future upgrades. A typical cinewhoop kit bundles most of these components, but variations exist.
The Core Structure: Frame, Ducts, and Propellers
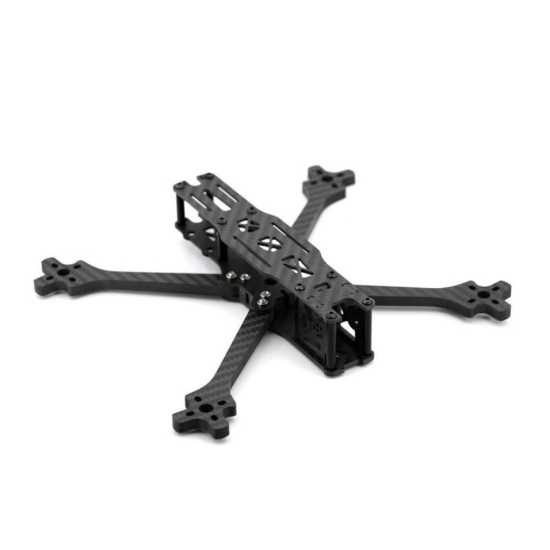
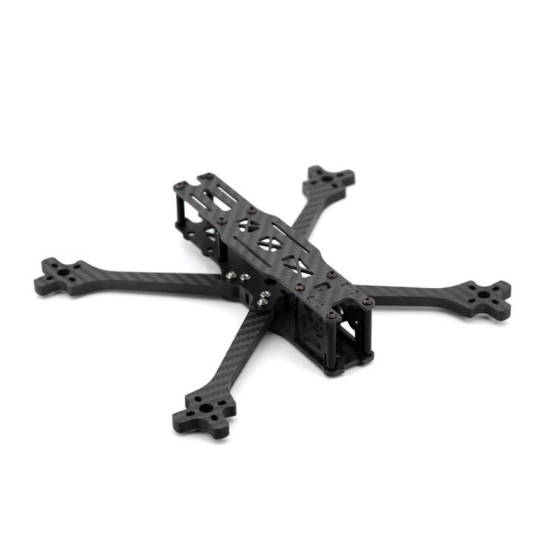
- Frame: The skeleton of your drone, typically made from durable carbon fiber. Cinewhoop frames are designed to accommodate propeller ducts and a mount for an action camera. Popular sizes for cinematic work are 2.5-inch to 3.5-inch prop frames.
- Ducts: These protective shrouds around the propellers are often made from injection-molded plastic or 3D-printed TPU (Thermoplastic Polyurethane). They enhance safety, provide some crash protection, and contribute to the cinewhoop's characteristic stable flight.
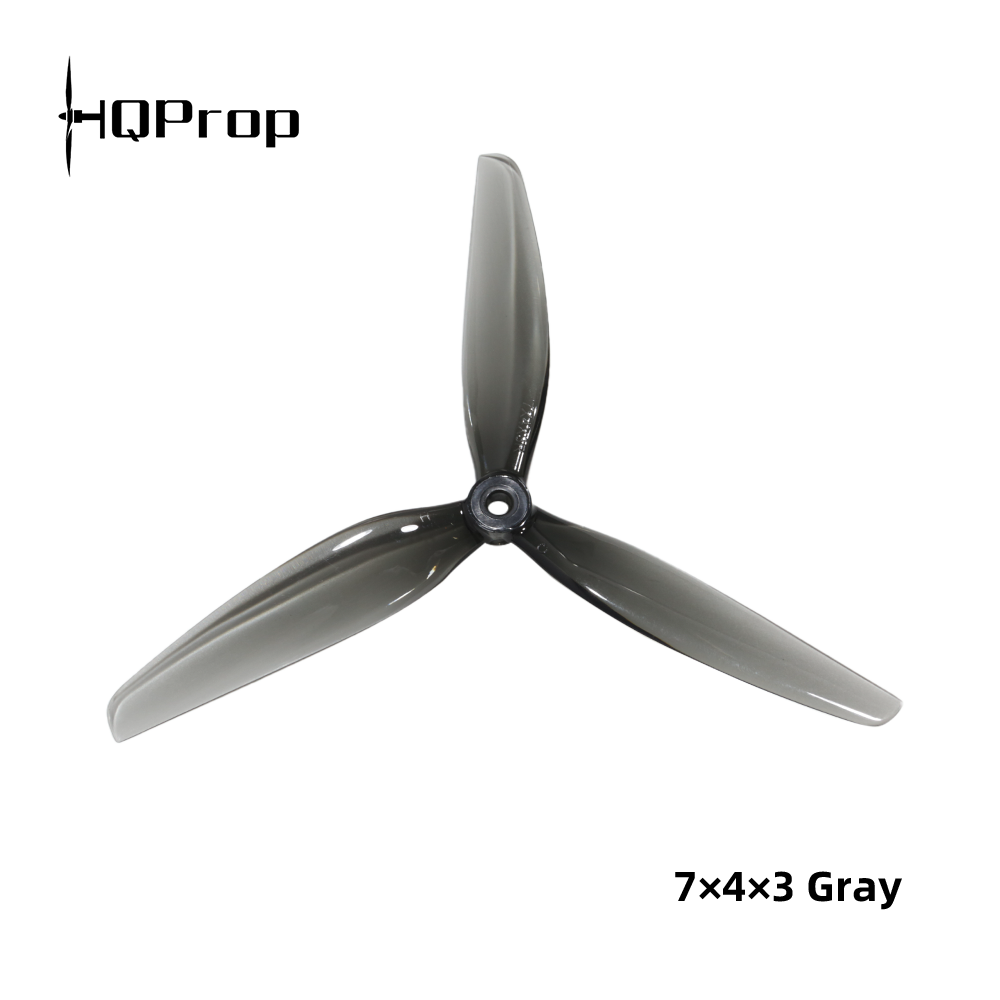
- Propellers: Usually 3-blade or 5-blade, chosen for their efficiency and thrust at lower RPMs, which translates to smoother flight. Common sizes are 2.5-inch, 3-inch, or 3.5-inch, matching the frame. For instance, a GEPRC Cinebot30 frame uses 3-inch props.
The Powerhouse: Motors, ESC, and Flight Controller
- Motors: Brushless motors drive the propellers. Cinewhoop motors are often smaller with lower KV ratings (e.g., 1404 3800KV, 1505 3600KV, or 2004 1700KV for 6S setups) compared to racing drones. Lower KV motors provide more torque and efficiency, crucial for carrying heavier action cameras and maintaining stable flight.
- ESC (Electronic Speed Controller): This component translates signals from the flight controller into motor speed. In kits, you'll often find a 4-in-1 ESC, which integrates four individual ESCs onto a single board, simplifying wiring. Ensure its amperage rating (e.g., 35A or 45A) matches your motor's power draw.
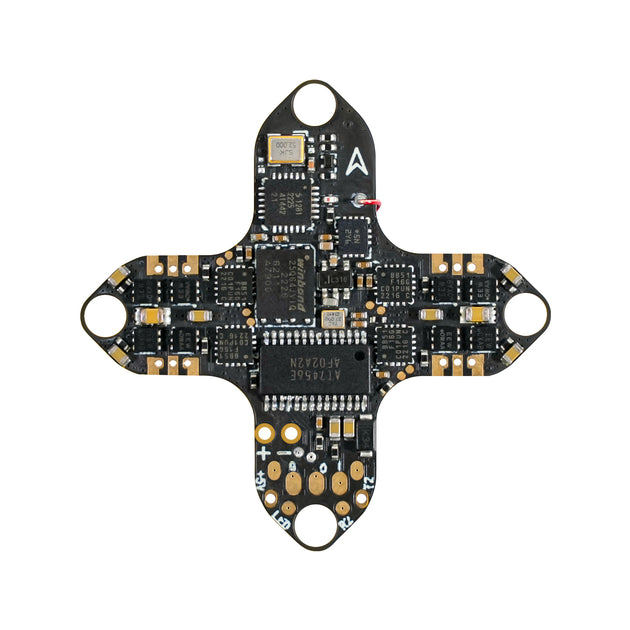
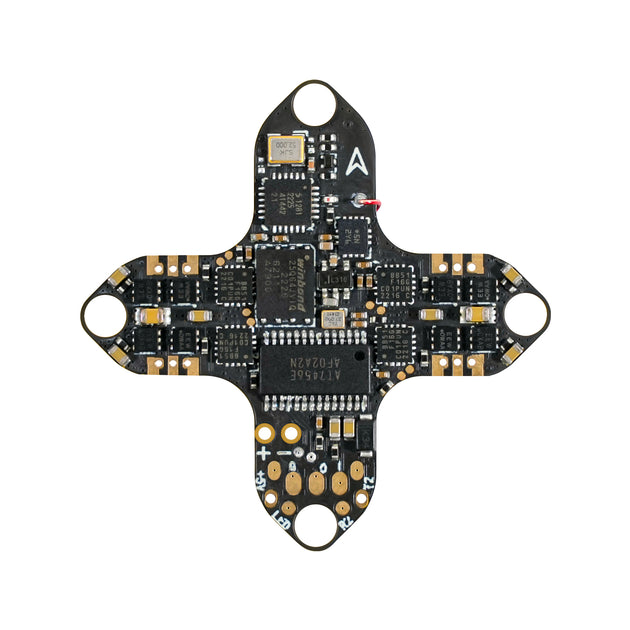
- Flight Controller (FC): The "brain" of the drone. It processes pilot inputs, sensor data (gyro, accelerometer), and manages motor output to keep the drone stable. Modern FCs like the SpeedyBee F405 V3 Stack or AIO (All-In-One) boards from brands like iFlight and GEPRC often include an OSD (On-Screen Display), BEC (Battery Eliminator Circuit) for powering other components, and robust MCUs (F4 or F7).
The Eyes and Ears: FPV Camera, VTX, and Receiver
- FPV Camera: This camera provides your real-time view from the drone to your FPV goggles. You'll choose between Analog (older, lower resolution, lower latency, more affordable, e.g., Runcam Nano 3) or Digital (higher resolution, clearer image, higher cost, e.g., Caddx Nebula Pro, Runcam Link, DJI O3 Air Unit, Walksnail Avatar HD).
- VTX (Video Transmitter): Sends the FPV camera's video signal wirelessly to your goggles. Power output (measured in mW, e.g., 25mW to 1000mW) determines range and penetration. Digital systems like the DJI O3 Air Unit integrate the VTX directly.
- Receiver: Connects to your radio transmitter (controller) to receive your control inputs. Common protocols include ExpressLRS (ELRS), TBS Crossfire, FrSky, and Tracer. ELRS and Crossfire are highly recommended for their robust link and range.
Powering Up: Batteries, Chargers, and Other Accessories
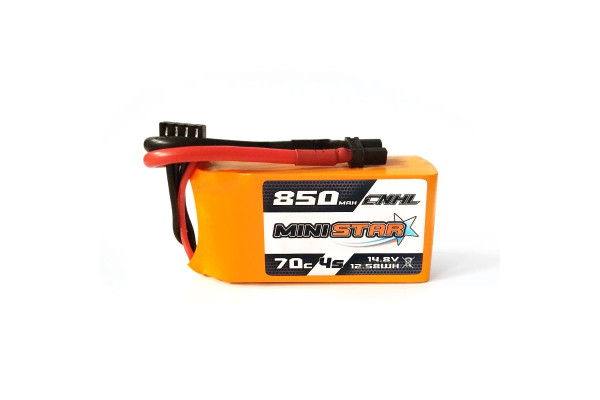
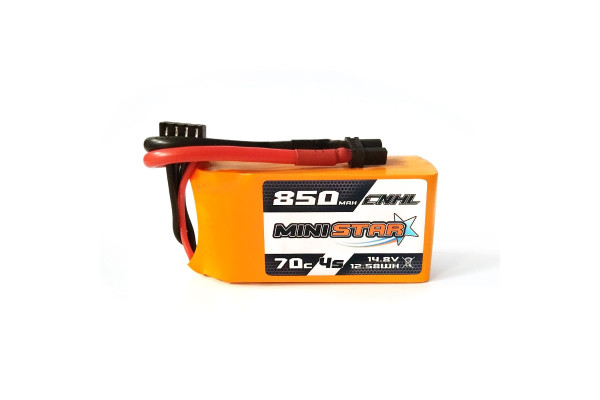
- Batteries: LiPo (Lithium Polymer) batteries are standard. Cinewhoops typically use 4S (14.8V) or 6S (22.2V) batteries for optimal power and efficiency, with capacities ranging from 850mAh to 1300mAh for 3-inch setups. The C-rating indicates how quickly the battery can safely discharge power.
- Chargers: A good balance charger (e.g., ISDT Q6 Nano) is essential for safely charging and maintaining your LiPo batteries. Don't forget a power supply if your charger doesn't have one built-in.
- Accessories: Battery straps, spare propellers, various cables, and often a basic set of tools like screwdrivers and zip ties are included in kits.
How to Choose the Best Cinewhoop Kit for Your Needs (Buyer's Guide)
Selecting the right cinewhoop kit involves considering your skill level, the type of footage you want to capture, and your budget.
Your Skill Level: Beginner-Friendly vs. Advanced Builds
- Beginner-Friendly Kits: Look for kits with clear, detailed instructions, possibly pre-soldered motor wires, and robust, easy-to-assemble frames. Brands like BetaFPV with their Pavo series or some GEPRC Cinebot kits often cater to beginners. They might feature AIO (All-In-One) flight controllers to simplify wiring.
- Advanced Builds: More complex kits might require more soldering, involve separate FC/ESC stacks, and offer greater customization. These are suitable if you have prior FPV build experience or are confident in your technical skills.
Camera Compatibility: From Naked GoPro to Full-Size Action Cams
This is a critical decision as it dictates the size and power requirements of your cinewhoop.
- Naked GoPro / Smaller Action Cams (e.g., Insta360 Go): These lightweight cameras (like a Naked GoPro Hero 8/9/10 or Insta360 Go 2/3) require less thrust, allowing for smaller, lighter cinewhoops (2.5-inch or 3-inch). The GEPRC Cinebot30 is a popular choice for Naked GoPro setups.
- Full-Size Action Cams (e.g., GoPro Hero 8/9/10/11/12, DJI Action 3/4, GoPro Session 5): These heavier cameras demand more powerful motors, larger props (3-inch to 3.5-inch), and higher cell count batteries (e.g., 6S). Kits like the iFlight Protek35 or Diatone Taycan series are designed to comfortably carry these larger cameras. Ensure the kit includes a robust, vibration-dampened camera mount.
Budgeting for Your Cinematic Dream Machine (Cinewhoop Cost)
The cost of a cinewhoop kit can vary significantly:
- Entry-Level Kits: You might find basic kits starting around $200-$300. These often include analog FPV systems and components suitable for lighter cameras.
- Mid-Range Kits: Most popular kits fall into the $300-$450 range. These typically offer better quality components, support for full-size action cameras, and potentially a choice between analog or digital FPV systems (though the digital VTX/camera might be sold separately).
- High-End Kits: Kits featuring top-tier components, especially integrated digital FPV systems like the DJI O3 Air Unit, can push the price above $500.
Remember, these prices are for the kit only. You'll also need FPV goggles, a radio transmitter, batteries, and a charger, which can add another $300-$1000+ to your total investment.
Ready-to-Fly (RTF) vs. Bind-and-Fly (BNF) vs. DIY Kits
- Ready-to-Fly (RTF): Comes fully assembled with goggles and a radio. Perfect for absolute beginners who want to fly immediately.
- Bind-and-Fly (BNF): Fully assembled, but you need to "bind" it to your existing radio transmitter. Ideal if you already have FPV gear.
- DIY Kits: This is what we're discussing! All components are included, but you assemble and configure everything yourself. Offers the most learning and customization.
Top Considerations for Cinewhoop Kit Performance
Beyond just getting off the ground, how your cinewhoop performs in the air is paramount for cinematic footage.
Flight Characteristics: Stability, Agility, and Control
- Stability: This is king for cinematic footage. A good cinewhoop kit should offer a stable platform, resistant to wind gusts and prop wash, allowing for smooth, jello-free video. The ducted design inherently aids stability.
- Agility: While not a racer, a cinewhoop still needs enough agility to navigate tight spaces and perform controlled movements. The combination of motor KV, prop size, and battery voltage plays a role.
- Control: Precise control is essential for framing shots. The flight controller's performance and proper PID tuning are key to achieving a locked-in, responsive feel.
Durability and Crash-Resistance: Protecting Your Investment
Cinewhoops are often flown in challenging environments, so durability is important.
- Ducts: TPU ducts offer excellent flexibility and impact absorption, protecting props and objects.
- Frame Materials: High-quality carbon fiber frames (e.g., 3K carbon fiber) are rigid and strong.
- Component Protection: Look for kits that offer good protection for the FC, VTX, and FPV camera, often through integrated plastic or TPU housings.
Digital vs. Analog FPV Systems: Which is Right for You?
This choice significantly impacts your FPV experience and budget:
- Analog FPV:
- Pros: Lower cost, lower latency (good for fast reactions), widely compatible, simple.
- Cons: Lower resolution (grainy image), prone to static and interference, limited range.
- Digital FPV:
- Pros: High-resolution, clear image (like watching HD video), excellent penetration, generally better range. Examples include DJI O3 Air Unit, Walksnail Avatar HD, Caddx Vista/Nebula Pro.
- Cons: Higher cost (for VTX, camera, and compatible goggles), potentially higher latency (though systems like DJI O3 have very low latency), more complex.
For cinematic work, digital FPV is highly recommended for its superior image quality, making it easier to frame beautiful shots and providing a more immersive experience.
Community Support and Availability of Spare Parts
Before buying, research the brand and kit.
- Community Support: Active communities (forums, Facebook groups, YouTube) for your chosen kit or brand (e.g., GEPRC, iFlight, Diatone, BetaFPV) mean readily available help, tutorials, and shared knowledge.
- Spare Parts: Ensure that common wear-and-tear parts like ducts, arms, and camera mounts are easily available for purchase. This saves you from having to buy a whole new drone after a minor crash.
Building Your Cinewhoop: A Step-by-Step Overview
Building a cinewhoop kit is a rewarding process. While each kit has specific instructions, the general steps remain consistent.
Essential Tools for a Smooth Build
Before you begin, gather these essential tools:
- Soldering Iron & Solder: A good quality iron with a fine tip is crucial. Lead-free solder is common, but leaded solder is often easier for beginners.
- Flux: Helps solder flow smoothly.
- Heat Shrink Tubing: For insulating soldered connections.
- Small Screwdrivers: Phillips head and sometimes hex drivers.
- Zip Ties: For cable management.
- Multimeter: For checking continuity and voltage – a lifesaver for troubleshooting.
- Tweezers & Wire Strippers: For delicate work.
- Safety Glasses: Always protect your eyes!
The Assembly Process: From Frame to Flight Controller
- Frame Assembly: Start by assembling the carbon fiber frame, mounting the ducts, and any structural TPU parts.
- Motor Mounting & Wiring: Mount the motors to the frame. Carefully route and solder the motor wires to the ESC. Pay close attention to the motor rotation direction; you'll configure this in Betaflight later, but proper wiring minimizes hassle.
- FC/ESC Stack Mounting & Wiring: Mount the flight controller and ESC stack onto the frame's standoffs. Wire the power leads from the ESC to the FC, and connect the signal wires.
- FPV Camera/VTX Installation: Install your FPV camera into its mount and connect it to the VTX. Mount the VTX (if separate) and its antenna securely.
- Receiver Installation: Solder your receiver to the flight controller (typically to a UART port) and mount it securely, ensuring its antennas are positioned for optimal signal reception.
- Final Checks: Double-check all solder joints for bridges or cold joints. Ensure no wires are pinched or can interfere with propellers.
Firmware Flashing and Initial Setup (Betaflight/INAV)
This is where your drone comes to life!
- Connect to Configurator: Plug your FC into your computer and open the Betaflight Configurator (or INAV for GPS-enabled builds).
- Flash Firmware: Flash the latest stable firmware for your specific flight controller.
- Basic Configuration:
- Ports Tab: Configure UARTs for your receiver, VTX, and GPS (if applicable).
- Configuration Tab: Set up your motor protocols (DSHOT), accelerometer, barometer, and other features.
- Motors Tab: Test motor direction and reverse any that are spinning incorrectly (do this with props OFF!).
- Receiver Tab: Ensure your radio inputs are registering correctly.
- Modes Tab: Set up arming switch, throttle cut, angle/horizon modes, and other flight modes.
- OSD Tab: Customize your On-Screen Display to show critical flight data.
- VTX Tab: Configure your VTX power and channels (if using analog or a SmartAudio/Tramp VTX).
- PID Tuning (Basic): For cinematic flight, default Betaflight PIDs are often a good starting point. You can fine-tune later for optimal smoothness.
First Flight Preparations and Safety Tips
The moment of truth!
- Prop Direction: Double-check that props are mounted correctly and spinning in the right direction (Betaflight motor test).
- Arming Switch: Ensure your arming switch works and you understand its function.
- Throttle Cut: Always have a throttle cut switch configured for emergencies.
- Safe Location: Choose an open, clear area for your first flight, away from people, animals, and obstacles.
- Spotter: Ideally, have a spotter to keep an eye on your drone while you're in your goggles.
- Battery Check: Ensure batteries are fully charged and securely strapped.
- Range Check: Perform a basic range check with your radio before taking off.
Frequently Asked Questions About Cinewhoop Kits
What are the best cinewhoop kits for beginners?
For beginners, kits that offer clear instructions, durable frames, and possibly pre-soldered components are ideal. Look for kits based around 2.5-inch or 3-inch props. Popular choices include frame kits from GEPRC Cinebot30, iFlight Protek25, or BetaFPV Pavo series. These often have robust ducted designs and good community support.
How much does a good cinewhoop kit cost?
A good cinewhoop kit typically costs between $250 and $450. This price range usually includes quality components and support for carrying action cameras. Remember, this does not include the cost of FPV goggles, a radio transmitter, batteries, or a charger, which are separate investments.
Are cinewhoop kits easy to build for a first-timer?
Building a cinewhoop kit is manageable for a first-timer with patience and a willingness to learn. The most challenging part for many is soldering. However, with numerous online tutorials (YouTube is a fantastic resource) and detailed manuals provided by kit manufacturers, it's a highly rewarding process. Expect to spend 4-8 hours on your first build.
Which cinewhoop kit is best for cinematic footage with a GoPro?
For cinematic footage with a full-size GoPro (Hero 8/9/10/11/12), you'll want a kit designed for 3-inch or 3.5-inch propellers and 4S or 6S batteries to provide sufficient lift and stability. Excellent options include the GEPRC Cinebot30, iFlight Protek35, or the Diatone Taycan. Ensure the kit includes a sturdy, vibration-dampened mount specifically for your GoPro model. For Naked GoPros, smaller 2.5-inch or 3-inch cinewhoops are perfect.
What's the main difference between a cinewhoop and a regular FPV racing drone?
The main differences are:
- Ducts: Cinewhoops have protective ducts around their propellers for safety and efficiency. Racing drones have exposed props.
- Purpose: Cinewhoops are designed for stable, smooth flight to carry action cameras for cinematic videography in close quarters. Racing drones are built for speed, agility, and competitive racing.
- Weight & Size: Cinewhoops are generally heavier due to the ducts and camera payload, and often smaller (2.5-3.5 inch props). Racing drones are lighter and typically use larger props (5-7 inch).
- Flight Characteristics: Cinewhoops prioritize stability and precise control, while racing drones prioritize raw speed and extreme maneuverability.
Elevate Your FPV Journey: Your Cinematic Story Awaits
Choosing and building your first cinewhoop kit is more than just assembling parts; it's an immersive journey into the heart of FPV technology and cinematic artistry. It offers a unique blend of technical challenge and creative freedom, culminating in a machine capable of capturing truly awe-inspiring footage. With the knowledge gained from this guide, you're well-equipped to select a kit that aligns with your skills, budget, and cinematic aspirations. The satisfaction of seeing your self-built drone soar, delivering buttery-smooth shots, is unparalleled.
Ready to capture stunning cinematic FPV footage? Explore the best cinewhoop kits available today and start building your dream drone! Share your build journey and cinematic creations with us!
Key Takeaways:
- Cinewhoop kits offer an accessible entry into cinematic FPV, providing a hands-on learning experience and customization.
- Understanding components and choosing wisely based on skill, camera, and budget is crucial for a successful build and flight experience.
- Building your own provides invaluable learning and customization, making you a more capable pilot and troubleshooter.
- With the right kit and a bit of patience, anyone can achieve breathtaking aerial cinematography and tell their story from unique FPV perspectives.
RELATED GUIDES
Copyright-safe media generated locally by FPVLovers
Catalog/source image: iFlight
Catalog/source image: BETAFPV
Catalog/source image: GEPRC
Catalog/source image: Flywoo
iFlight
BETAFPV
GEPRC
Flywoo