FPV Starter Kits by Budget: What to Buy First in 2026
A practical kit-planning guide that turns beginner uncertainty into budget tiers and purchase order.
FPV Starter Kits by Budget: What to Buy First in 2026
Building Your First FPV Drone on a Budget: Your Affordable Gateway to the Skies
Dreaming of soaring through the skies, performing acrobatic maneuvers, and experiencing the world from a bird's-eye view? FPV (First Person View) drones offer an unparalleled thrill, but many beginners are deterred by the perceived high cost. The good news? Getting into FPV doesn't have to break the bank! This comprehensive guide will show you how to build your first FPV drone affordably, component by component, proving that an exhilarating FPV journey is within reach for any budget-conscious enthusiast.
The Dream of FPV on a Dime: Is It Possible?
The allure of FPV is undeniable: the immersive experience, the freedom of flight, and the challenge of mastering a new skill. However, many aspiring pilots are immediately put off by stories of expensive gear and complex setups. It's time to set the record straight.
Dispelling the Myth: FPV Doesn't Have to Break the Bank
For years, FPV was indeed a niche hobby, often requiring significant investment and technical expertise. But times have changed dramatically. Advancements in technology, mass production, and a thriving, competitive market have driven down prices significantly. Today, you can find high-quality, beginner-friendly components and even complete starter kits that are incredibly accessible. The FPV community, ever-growing and incredibly supportive, also provides a wealth of free resources, tutorials, and advice, further lowering the barrier to entry. Getting into FPV is no longer a luxury; it's an achievable passion for almost anyone.
What to Expect from a Budget FPV Setup
When you opt for a budget-friendly FPV setup, it's crucial to set realistic expectations. You might not get the absolute cutting-edge performance, the most robust carbon fiber, or the highest resolution video feed, but what you will get is an incredibly capable platform for learning.
A budget FPV drone typically focuses on:
- Fundamental Flying Skills: It will allow you to learn throttle control, yaw, pitch, roll, and advanced maneuvers without fear of destroying a high-cost machine.
- Durability (within reason): Many budget frames are surprisingly tough, and components are often designed to be easily replaceable. Crashes are part of learning, and a budget setup makes them less painful.
- Essential Features: You'll have all the core functionalities needed for FPV flight – a responsive flight controller, clear video, and reliable radio link.
- Upgrade Potential: Many budget setups are modular, allowing you to upgrade individual components as your skills grow and your budget allows.
The primary goal of a budget FPV setup is to get you flying and learning. It's a stepping stone, not necessarily your forever drone.
The Trade-offs: Where You Can Save (and Where You Shouldn't)
Making smart choices about where to economize is key to a successful budget build.
Where You Can Save:
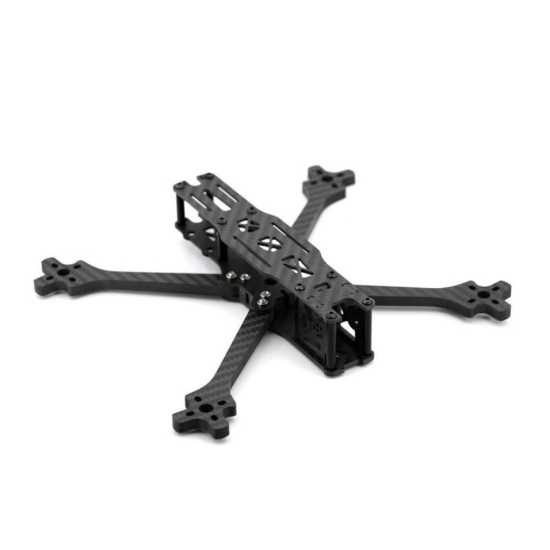
- Frames: Simple X-frames or unibody designs made from common carbon fiber are very affordable. Look for frames that are easy to build on and have readily available spare parts.
- Motors: While high-end motors offer peak efficiency and power, budget brushless motors from reputable brands (like Happymodel, Eachine, or even some generic brands) provide ample thrust for learning. Focus on appropriate kV for your battery voltage and propeller size.
- ESCs: Basic 4-in-1 ESCs or even individual ESCs are fine. Avoid overly complex features you won't use as a beginner.
- FPV Camera: Entry-level cameras like the Caddx Ant or Runcam Nano 2 offer perfectly adequate image quality for learning.
- VTX: A basic 25mW-200mW VTX is usually sufficient for local flying and short to medium ranges.
- Goggles: Box goggles are a fantastic budget option that provides a large, immersive field of view, even if they aren't as compact or high-resolution as premium fatsharks.
- Propellers: Buy them in bulk! You'll break a lot of props as a beginner. Generic brands are perfectly fine for learning.
Where You Shouldn't Skimp (or invest a little more):
- Radio Transmitter: This is your primary interface with the drone. A reliable, comfortable radio like the Radiomaster Zorro or Jumper T-Lite V2 with ELRS (ExpressLRS) support will serve you well for years, across multiple drones. A good radio also means better simulator experience.
- Flight Controller (FC): While integrated FC/ESC stacks are great for simplicity, ensure your FC runs a well-supported firmware like Betaflight and has basic quality control. A flaky FC can lead to frustrating troubleshooting.
- Charger: A safe and reliable balance charger is non-negotiable for LiPo batteries. The ISDT Q6 Nano or ToolkitRC M4AC are excellent budget options that prioritize safety and correct charging. Don't cheap out here; LiPo fires are a real risk with improper charging.
- Batteries (Quality): While you can save on quantity, don't buy dangerously cheap, no-name batteries. Stick to known brands like GNB (Gaoneng), Tattu R-Line, or CNHL for decent performance and safety, even in smaller capacities.
- Soldering Iron: A decent temperature-controlled soldering iron (like a TS100/TS80P clone or a Hakko FX-888D equivalent) will make building much easier and prevent damaged components.
Essential Components for Your Budget FPV Drone
Let's break down the core components you'll need for your affordable FPV build.
The Foundation: Frames, Motors, and ESCs
-
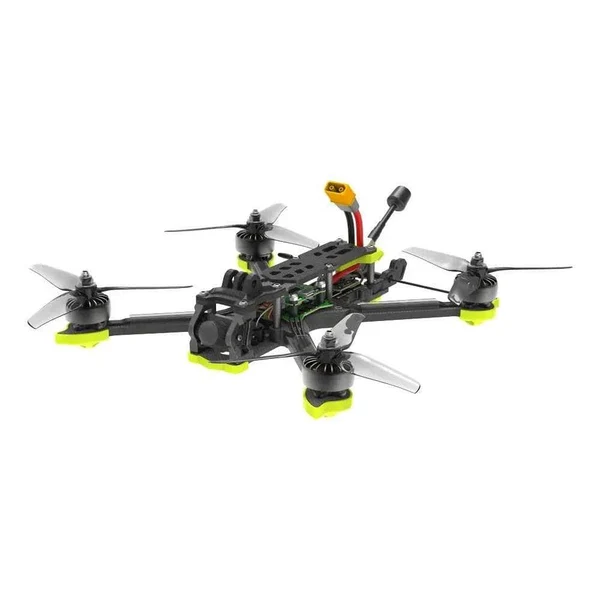
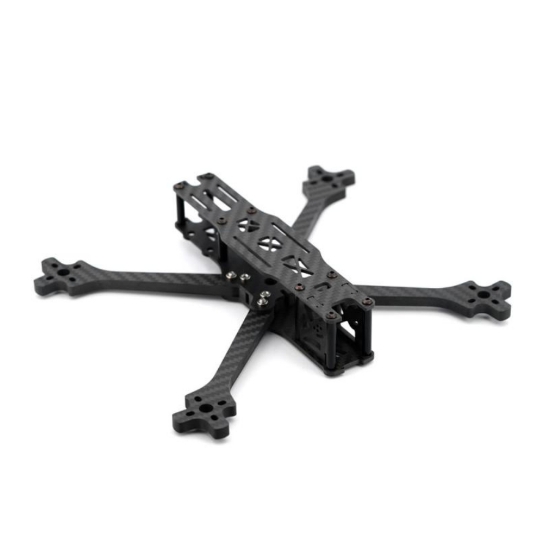
Frames: For beginners on a budget, look for X-frames in sizes like 2.5-inch, 3-inch, or 5-inch, depending on your desired flight style and available space. A 3-inch "toothpick" or "cinewhoop" style frame (like the Happymodel Mobula7/Mobula8 frames or generic 3-inch carbon fiber frames) offers a good balance of durability and indoor/outdoor versatility. Unibody designs are often cheaper but harder to replace individual arms. Practical Tip: Choose a frame with readily available spare arms or bottom plates. You will break them.
-
Motors: Brushless motors are the standard. For smaller 2-3 inch drones, common budget choices are 1103, 1204, or 1404 size motors with kV ratings between 5000-8000kV, suitable for 1S-3S LiPo batteries. For a 5-inch beginner build, 2207 size motors around 1700-2400kV for 4S LiPo are common. Brands like Happymodel, Eachine, and T-Motor's F-series offer good value.
-
ESCs (Electronic Speed Controllers): These control your motors. For simplicity and cost, a 4-in-1 ESC is highly recommended. It combines all four ESCs onto a single board, reducing wiring complexity. Many Flight Controllers now come integrated with an ESC, forming an "FC/ESC stack." Look for budget 4-in-1 ESCs rated for 15A-35A depending on your motor size and battery voltage. Brands like JHEMCU, GEPRC, and HGLRC offer reliable budget options.
The Brains: Flight Controllers and Receivers
-
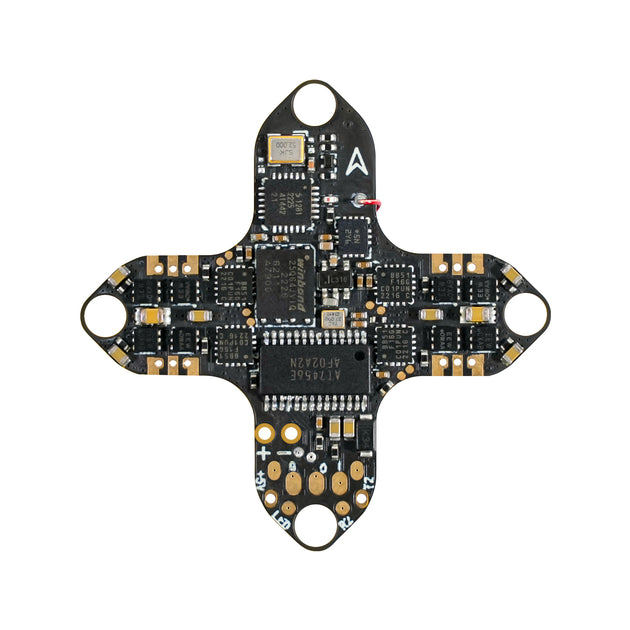
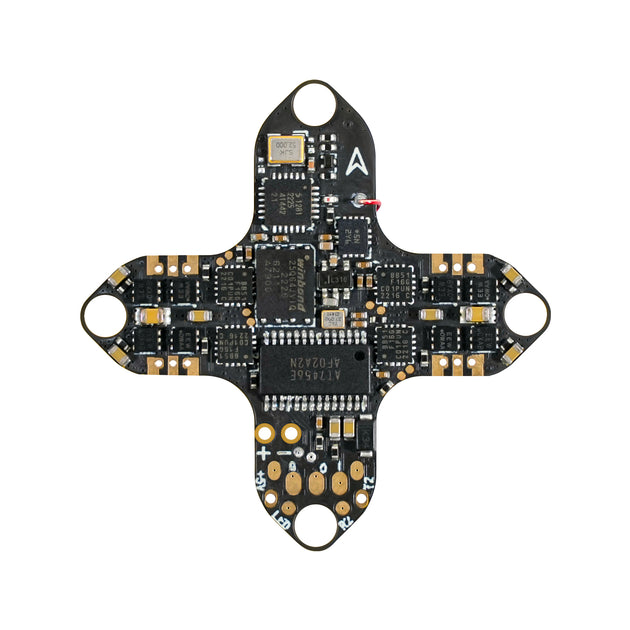
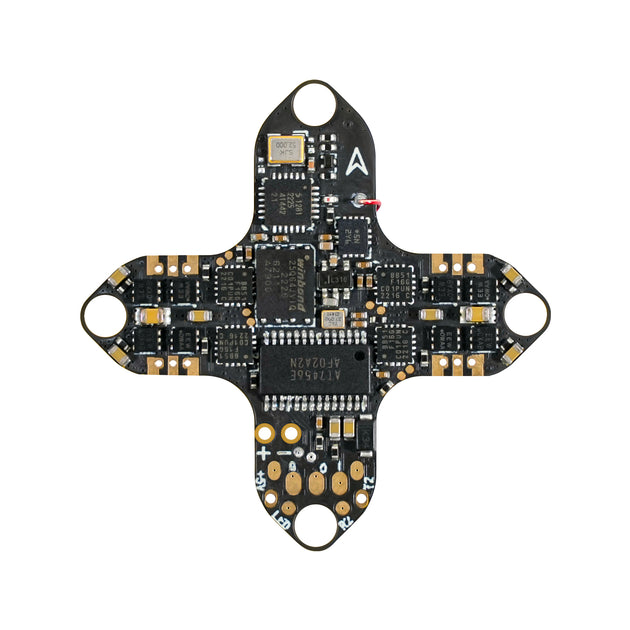
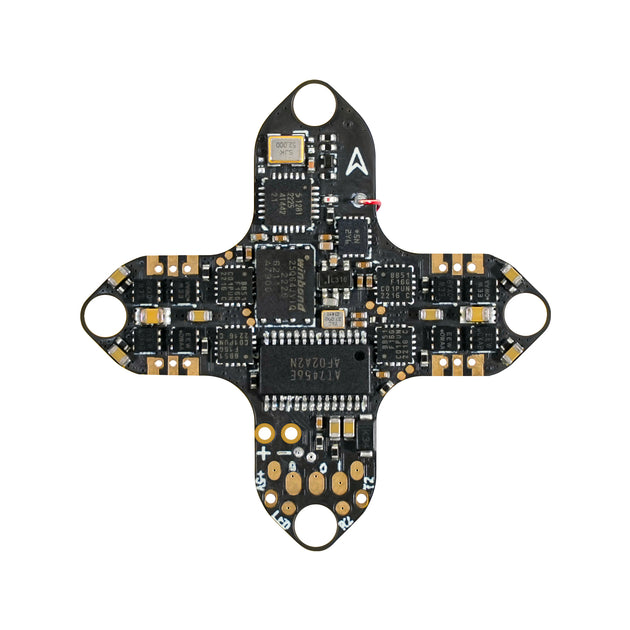
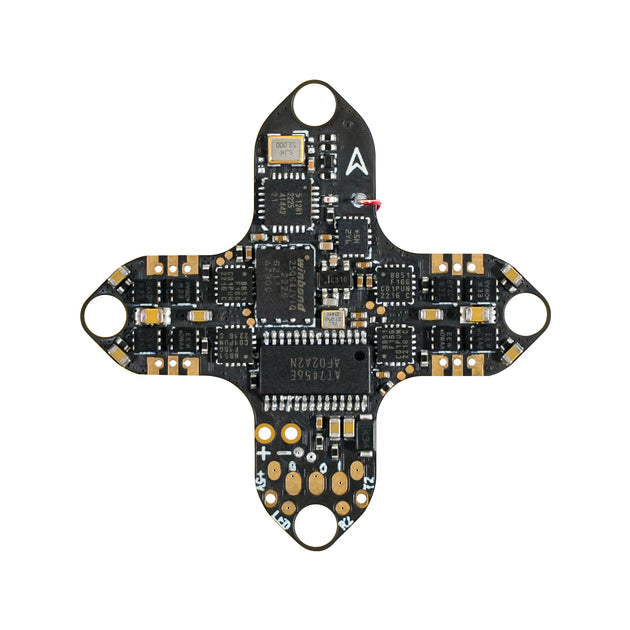
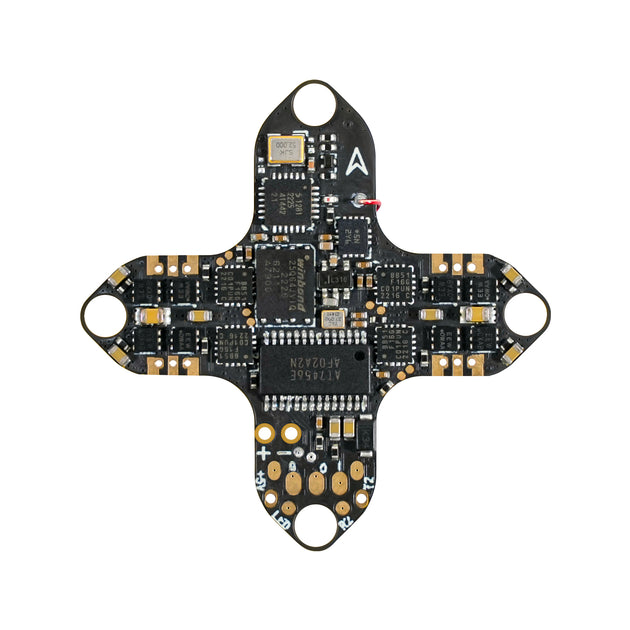
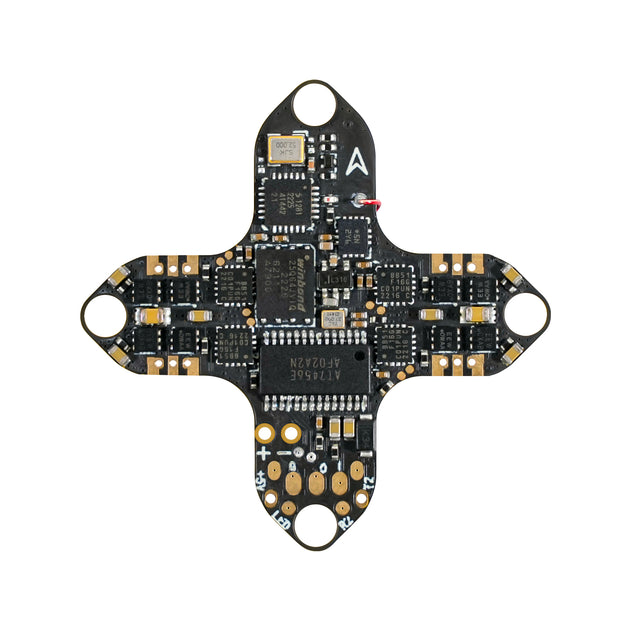
Flight Controller (FC): The FC is the "brain" of your drone, running firmware like Betaflight (the most popular for FPV). For budget builds, an integrated FC/ESC stack is a game-changer. These combine the FC and 4-in-1 ESC into two boards that stack together, simplifying wiring and often costing less than separate components. Look for F4 or F7 based FCs. JHEMCU, DarwinFPV, and Happymodel frequently offer budget-friendly integrated stacks.
-
Receivers: This component receives signals from your radio transmitter.
- SPI Receivers: Many tiny Whoop-style FCs have an integrated SPI receiver (e.g., FrSky D8/D16, Flysky, or ELRS). These are the cheapest option as they're built-in.
- External Receivers: For larger builds or better range, an external receiver is needed. ELRS (ExpressLRS) is the undisputed king of budget-friendly, high-performance radio links. A small ELRS 2.4GHz receiver (like a Happymodel EP1/EP2 or BetaFPV Nano receiver) costs very little and provides incredible range and reliability. If your radio only supports FrSky D8/D16, receivers like the XM+ or R-XSR are budget-friendly alternatives.
The Eyes: FPV Cameras and Video Transmitters (VTX)
-
FPV Cameras: These are your drone's eyes. For budget builds, small, lightweight cameras are ideal. The Caddx Ant and Runcam Nano 2 are excellent choices, offering a clear analog video feed with good low-light performance at a very affordable price point. They are tiny, durable, and widely supported.
-
Video Transmitters (VTX): The VTX sends the camera's video feed to your FPV goggles. For beginners, a 25mW-200mW VTX is perfectly sufficient. This power output provides enough range for local park flying without causing interference to others. Look for small, lightweight VTXs that support a good range of channels. Many budget FCs have integrated VTXs, which further simplifies the build. Standalone budget VTXs from Eachine, Happymodel, or AKK are good options. Ensure your VTX supports SmartAudio or Tramp Telemetry for easy channel/power changes via Betaflight OSD.
Powering Up: Batteries and Chargers
-
LiPo Batteries: These are the powerhouses of your drone. For budget builds, you'll likely start with 1S, 2S, or 3S LiPo batteries, depending on your drone's size and motor choice.
- 1S (e.g., 300-650mAh): Common for tiny Whoops and toothpicks.
- 2S (e.g., 300-850mAh): Good for 2-3 inch toothpicks/cinewhoops.
- 3S (e.g., 450-850mAh): Powerful for 3-inch quads.
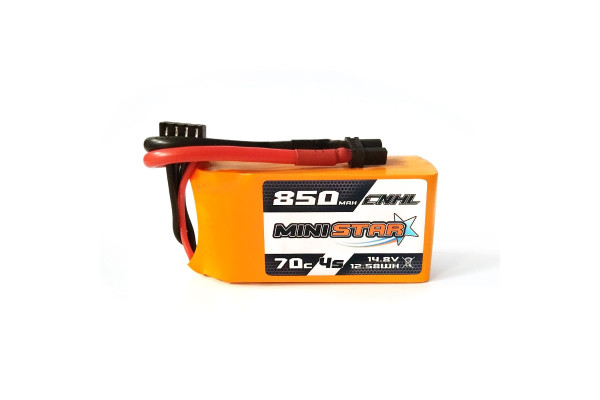
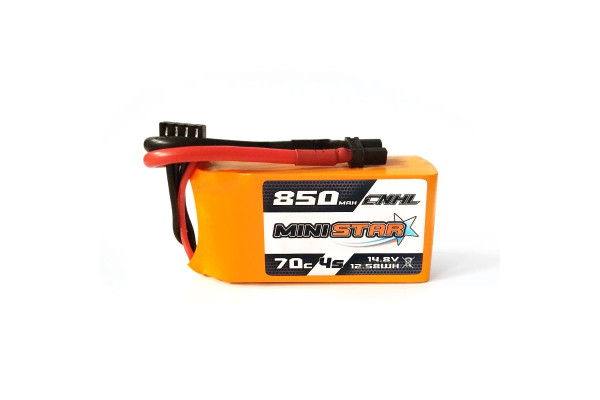
- 4S (e.g., 850-1300mAh): Standard for 5-inch freestyle drones. Always check the C-rating (discharge rate) – higher is better, typically 75C or more for FPV. Brands like GNB, CNHL, and Tattu offer good value. Buy at least 3-5 batteries to extend your flight time.
-
Chargers: A safe, reliable balance charger is an absolute must. Never use cheap, unbalanced chargers. Budget-friendly options like the ISDT Q6 Nano, ToolkitRC M4AC, or HOTA D6 Pro (if you can stretch the budget slightly) are excellent. They balance individual cells, extending battery life and preventing dangerous overcharging. You'll also need a power supply if your charger doesn't have one built-in. Practical Tip: Always charge LiPo batteries in a fire-safe bag and never leave them unattended.
Beyond the Quad: Your Ground Station Essentials
Your drone is only half the equation. You need gear to see what it sees and control it.
Seeing the World: Budget FPV Goggles or Screens
- Box Goggles: For beginners on a strict budget, box goggles are the undisputed champion. They offer a large, immersive field of view, are relatively inexpensive, and often come with built-in DVR (Digital Video Recorder) to record your flights. The Eachine EV800D is a highly recommended option, providing excellent value with diversity receivers for better signal.
- FPV Screens: For the absolute tightest budget, a small FPV screen mounted on your radio or a tripod can work. However, the lack of immersion makes learning harder, and glare can be an issue. It's generally better to save for box goggles.
Taking Control: Affordable Radio Transmitters
Your radio is a long-term investment.
- Radiomaster Zorro: This compact, gamepad-style radio is incredibly popular for its ergonomics, full-size gimbals, and multi-protocol module bay or integrated ELRS module. It's an excellent choice for beginners and experienced pilots alike.
- Jumper T-Lite V2: Another compact, console-style radio that offers multi-protocol support and often comes with ELRS. It's a great portable option.
- ELRS (ExpressLRS): Whichever radio you choose, ensure it supports ELRS. This open-source radio protocol offers incredible range, low latency, and robust performance, making it the best value radio link solution in FPV. You might need to buy an external ELRS module for some radios, but many budget radios now come with it built-in.
The Must-Haves: Tools and Accessories
Don't forget the essential tools for building and maintenance!
- Soldering Iron: As mentioned, a decent temperature-controlled iron is crucial.
- Screwdriver Set: Small hex drivers (1.5mm, 2mm, 2.5mm) are essential for drone screws.
- Multimeter: Invaluable for checking continuity and voltage during troubleshooting.
- Heat Shrink Tubing: For insulating soldered joints.
- Zip Ties: For securing components and wiring.
- Propellers: Buy many! Sizes like 2.5x2.5x3, 3x2.5x3, or 5x4.3x3 are common.
- LiPo Alarm/Voltage Checker: To monitor battery voltage during flight and storage.
- LiPo Safe Bag: For charging and storing batteries safely.
- Double-Sided Tape/Foam: For mounting FCs, receivers, etc.
- Flux and Solder: Good quality solder (60/40 or 63/37 with flux core) and additional flux paste make soldering much easier.
Pre-Built Kits vs. DIY: Which Budget Path is Right for You?
This is a common dilemma for beginners. Both paths have their merits when you're on a budget.
The Convenience of Budget FPV Starter Kits
For absolute beginners who want to get flying with minimal hassle, a complete FPV starter kit is an excellent option.
- Advantages: Everything is included (drone, goggles, radio, batteries, charger), pre-assembled, and pre-bound. You're guaranteed compatibility, and setup is usually plug-and-play.
- Examples: The Eachine Novice series (Novice-I, Novice-II) or the BetaFPV Cetus series (Cetus, Cetus Pro, Cetus X) are highly recommended. These kits often cost under $200-$300 and provide a fantastic first FPV experience, typically with small, durable Whoop-style drones perfect for indoor and gentle outdoor flying. They are an incredible value for money.
The Learning Curve and Savings of a DIY Budget Build
Building your own FPV drone, even on a budget, offers unparalleled benefits.
- Invaluable Learning: You'll understand every component, how they connect, and how they function. This knowledge is crucial for troubleshooting, repairs, and future upgrades.
- Greater Customization: You can select each component to perfectly match your budget and desired flight characteristics.
- Long-Term Cost Savings: By learning to repair, you extend the life of your drone. If a part breaks, you know how to replace just that component, rather than buying a whole new drone or sending it for costly repairs. You also gain the skills to build subsequent, more advanced drones.
- Potential for Lower Initial Cost: By sourcing components from various retailers and taking advantage of sales, you can sometimes build a comparable drone for less than a pre-built kit, especially for larger sizes.
Hybrid Approaches: Upgrading Kit Components
A smart strategy for many beginners is to start with a budget FPV kit and then gradually upgrade.
- Start with a Kit: Get flying quickly with something like an Eachine Novice or BetaFPV Cetus.
- Upgrade Peripherals: Your radio transmitter and goggles are often the first things to upgrade. If your kit came with a very basic radio, investing in a Radiomaster Zorro or Jumper T-Lite V2 will drastically improve your experience and be compatible with future drones. Similarly, upgrading from basic box goggles to a slightly better model or even entry-level compact goggles can enhance immersion.
- Build Your Next Drone: Once you've mastered the basics with your kit, you'll have a much better understanding of what you want in your next drone. You can then embark on a DIY build for a larger, more powerful quad, already possessing a good radio and perhaps better goggles.
Your First Flight: Setup, Software, and Safety
Once your drone is assembled, a few crucial steps remain before you take to the skies.
Basic Assembly and Soldering Tips for Beginners
- Take Your Time: Rushing leads to mistakes. Follow build guides and YouTube tutorials specific to your frame and components.
- Wiring Diagrams: Always refer to the wiring diagram for your Flight Controller. It shows where everything connects.
- Soldering: Practice on scrap wires first. Use flux, ensure your iron is at the correct temperature (around 350-400°C), and aim for shiny, volcano-shaped solder joints. Use heat shrink for insulation. Practical Tip: Tin both the wire and the pad before joining them for a stronger connection.
Firmware Flashing and Betaflight Configuration Basics
- Betaflight Configurator: This is the software you'll use to set up your FC. Download it from the Betaflight GitHub page.
- Firmware Flashing: Connect your FC to your computer, put it into DFU mode, and flash the latest stable version of Betaflight firmware for your specific FC target.
- Basic Configuration:
- Ports Tab: Enable Serial RX for your receiver.
- Configuration Tab: Set DShot protocol for ESC, enable Airmode, set your motor direction.
- Receiver Tab: Ensure your radio inputs (roll, pitch, yaw, throttle) are moving correctly.
- Modes Tab: Set up arming switch, Angle/Acro mode, and Beeper.
- OSD Tab: Customize what information you see in your goggles (voltage, timer, RSSI).
- Motor Tab: REMOVE PROPELLERS and test motor direction.
- Practical Tip: Watch a beginner's Betaflight setup video on YouTube. Joshua Bardwell has excellent, comprehensive guides.
Simulator Practice and Safe Flying Practices
- FPV Simulators: This is the single most important advice for beginners. Before you ever fly a real FPV drone, spend hours in a simulator. It saves you money, time, and frustration. Popular FPV simulators include Velocidrone, Liftoff, DRL Simulator, and Uncrashed. Many budget radios come with USB connectivity, allowing you to use them with simulators.
- Safety First:
- Remove Props: Always remove propellers when connecting to Betaflight or working on your drone.
- Arming Switch: Always use an arming switch and ensure it's disarmed when handling the drone.
- Clear Area: Fly in open, unpopulated areas, away from people, animals, and property.
- Line of Sight: As a beginner, always have a spotter who can maintain line of sight with your drone.
- Battery Safety: Handle LiPo batteries carefully, charge them safely, and never over-discharge them.
- Local Regulations: Understand and comply with local drone flying laws and regulations.
Buyer's Guide: Top Budget FPV Kits and Components for Beginners
To help you get started, here are some specific recommendations.
Recommended All-in-One Budget FPV Kits
These kits offer fantastic value and convenience for absolute beginners, typically under $300:
- Eachine Novice-III RTF Kit: Often includes a 3-inch toothpick-style drone, a decent pair of box goggles (like the EV800D), and a basic radio. It's a great all-rounder for indoor and outdoor learning.
- BetaFPV Cetus X RTF Kit: A more advanced option in the Cetus series, offering a 3.5-inch drone with 2S power, good quality goggles, and a solid ELRS radio. It provides a more powerful and responsive experience for learning freestyle.
- Happymodel Mobula7/Mobula8 RTF Kit: While sometimes sold as components, full kits occasionally appear. These tiny Whoops are legendary for their durability and indoor flight capabilities, often paired with basic goggles and a simple radio.
Best Value Individual Components for a DIY Budget Build
If you're going the DIY route, here are some excellent budget-friendly choices:
- Frames:
- GEPRC GEP-CL20/CL25: Durable, lightweight frames for 2-2.5 inch cinewhoops.
- Generic 3-inch or 5-inch Carbon Fiber X-frames: Available on sites like AliExpress or Banggood for very low prices. Look for 3mm-5mm thick arms.
- FC/ESC Stacks:
- JHEMCU GHF405AIO Pro: A popular F4 AIO (All-In-One) FC with integrated 40A ESC, great for 3-5 inch builds.
- DarwinFPV F4 AIO: DarwinFPV offers very cost-effective AIO boards suitable for various small builds.
- Motors:
- Happymodel EX1103/EX1404: Excellent for 2-3 inch quads.
- Eachine 1104/1404: Similar budget options.
- Diatone Mamba Toka 2207: A good value 5-inch motor.
- FPV Camera:
- Caddx Ant: Small, clear, and very affordable.
- Runcam Nano 2: Similar to the Caddx Ant, another solid choice.
- VTX:
- Eachine Nano VTX: Tiny, inexpensive, and sufficient for small drones.
- AKK Race Ranger Nano: Reliable and affordable VTX with good power output options.
- Receiver:
- Happymodel ELRS EP1/EP2: The go-to for ELRS receivers.
- BetaFPV ELRS Nano Receiver: Another excellent ELRS option.
- Batteries:
- GNB (Gaoneng) LiPo Batteries: Widely trusted for good performance-to-price ratio.
- CNHL Black Series: Offer good power for their price.
- Charger:
- ISDT Q6 Nano: Compact, powerful, and reliable.
- ToolkitRC M4AC: Good entry-level smart charger.
- Goggles:
- Eachine EV800D: Best value box goggles with diversity.
- Radio:
- Radiomaster Zorro (ELRS version): Highly recommended for long-term use.
- Jumper T-Lite V2 (ELRS version): Great portable option.
Where to Find Deals and Discounted FPV Gear
- Online Retailers: Banggood, AliExpress, RaceDayQuads, GetFPV, Pyrodrone, HobbyKing are major FPV retailers. Keep an eye out for flash sales, holiday discounts, and coupon codes.
- Community Marketplaces: Check FPV-specific Facebook groups, forums, and Discord servers. You can often find used gear in good condition or group buys.
- Manufacturer Websites: Sometimes manufacturers run direct sales on their own sites.
- Clearance Sections: Always check the clearance or sale sections of retailers. You might find last-generation but still perfectly capable components at a steep discount.
Your Affordable FPV Adventure Awaits!
Embarking on your FPV journey doesn't require a hefty investment. By understanding the essential components, knowing where to save, and choosing between pre-built kits or a DIY approach, you can build a capable and thrilling FPV drone on a budget. The world of FPV is accessible, exciting, and waiting for you to take flight.
Ready to experience the thrill? Start planning your budget FPV build today and join the ever-growing community of FPV pilots!
Frequently Asked Questions About Budget FPV Starter Kits
What is the cheapest FPV starter kit for beginners?
The absolute cheapest FPV starter kits often fall in the $100-$200 range, typically micro drones like the Eachine Novice series or BetaFPV Cetus kits. These usually include everything you need to get started: drone, goggles, and radio.
How much does a good beginner FPV drone setup cost?
A 'good' beginner FPV setup, offering a balance of performance and durability for learning, generally costs between $250 and $400 for a complete ready-to-fly kit. A DIY build might offer similar performance for slightly less, but requires more effort and initial tool investment.
Can I build an FPV drone cheaply as a beginner?
Yes, absolutely! Building an FPV drone cheaply as a beginner is entirely possible and highly recommended for learning. By carefully selecting budget components and utilizing online resources, you can assemble a capable FPV drone for less than buying a comparable pre-built kit, while gaining invaluable knowledge.
What components are essential for a budget FPV build?
The essential components for a budget FPV build include a frame, motors, ESCs (Electronic Speed Controllers), a Flight Controller (FC), an FPV camera, a Video Transmitter (VTX), a receiver, LiPo batteries, a charger, FPV goggles/screen, and a radio transmitter. Don't forget basic tools like a soldering iron and hex drivers.
What are the best value FPV starter kits available?
Some of the best value FPV starter kits for beginners include the Eachine Novice series (e.g., Novice-III), BetaFPV Cetus series (e.g., Cetus X), and sometimes bundled deals from brands like Happymodel. These kits often provide a complete package with decent performance for their price point, making them excellent entry points into the hobby.
RELATED GUIDES
Copyright-safe media generated locally by FPVLovers
Catalog/source image: TBS
Catalog/source image: Flywoo
Catalog/source image: BETAFPV
TBS
Flywoo
BETAFPV