VTX and Camera Setup Guide: Clean Video From the Start
A focused guide to setting up the video system so beginners can get a clean image and avoid the usual channel and wiring mistakes.
VTX and Camera Setup Guide: Clean Video From the Start
VTX & Camera Setup Guide: No-Fuss FPV Video for Beginners
Tired of grainy, unreliable FPV video ruining your flights? A perfectly set up VTX and camera are the heart of a crystal-clear FPV experience. This guide will walk you through every step, from wiring to configuration and troubleshooting, ensuring your FPV feed is always 'no-fuss' and 'crystal-clear'. Get ready to transform your FPV view!
Decoding Your FPV Video System: VTX & Camera Explained
Before we dive into the nitty-gritty of wiring, let's understand the fundamental components that make your FPV view possible.
The Role of the Video Transmitter (VTX)
The Video Transmitter, or VTX, is the unsung hero that takes the analog video signal from your FPV camera and converts it into a radio frequency (RF) signal. It then broadcasts this signal wirelessly through an antenna. Think of it as a miniature TV station on your drone. The VTX allows you to choose different channels and bands (like choosing a TV channel) to avoid interference, and adjustable power levels (e.g., 25mW, 200mW, 800mW, or even 1W+) to control your range and penetration. Higher power generally means greater range and better signal through obstacles, but also generates more heat and draws more current.
Unveiling the FPV Camera's Purpose
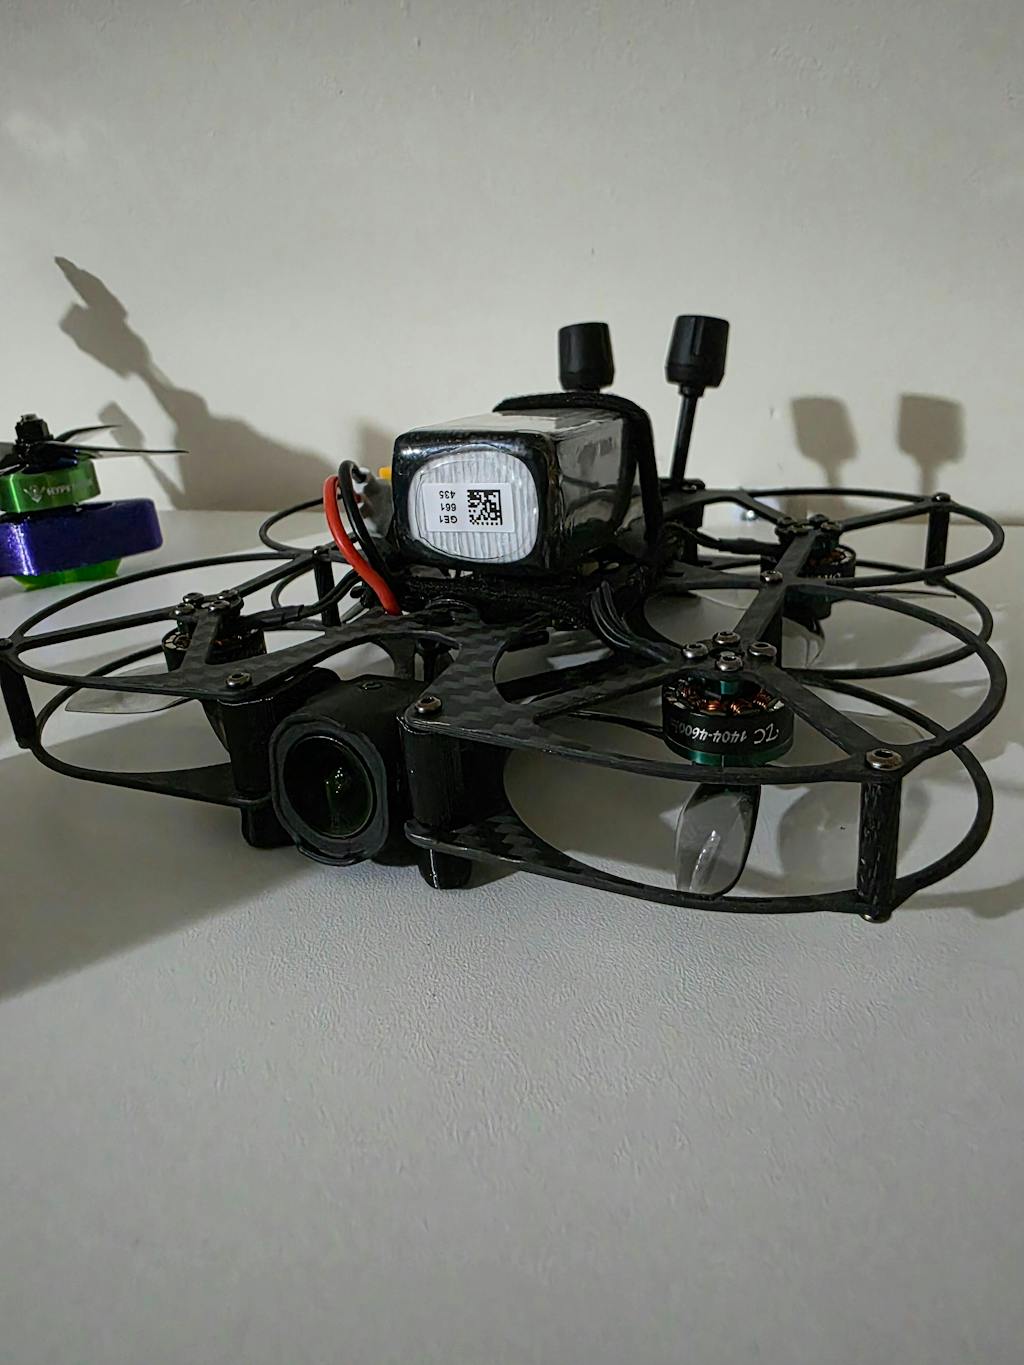
Your FPV camera is quite literally the eyes of your drone. It captures the world from your drone's perspective and sends that raw analog video signal to the VTX. Key features to consider in an FPV camera include:
- Sensor Type: Traditionally, CCD sensors were favored for their excellent dynamic range and natural light handling, but modern CMOS sensors (like those found in the RunCam Phoenix 2 or Caddx Ratel 2) have caught up, offering superb image quality, especially in low light, with lower latency.
- Latency: This is crucial for FPV! It's the delay between the camera capturing an image and you seeing it in your goggles. Lower latency (typically 5-20ms) is vital for precise control, especially in racing or acrobatic flying.
- Resolution & Aspect Ratio: Most FPV cameras output NTSC or PAL video, with aspect ratios like 4:3 (traditional FPV) or 16:9 (wider, more cinematic).
- Lens: Determines the Field of View (FOV). A wider FOV (e.g., 2.1mm lens) gives you more peripheral vision, while a narrower one (e.g., 2.5mm) makes objects appear closer.
How They Deliver Your FPV Feed
The entire analog FPV video chain works like this:
- The FPV Camera captures video.
- The camera sends this analog video signal to the VTX.
- The VTX converts the signal to RF and transmits it via its antenna.
- Your FPV goggles' receiver (RX) picks up this RF signal via its antennas.
- The receiver converts the RF signal back into an analog video signal.
- You see the real-time video feed in your goggles!
Gathering Your Gear: Essential Components & Tools
A successful build starts with having the right components and tools.
Key Hardware: VTX, Camera, and Flight Controller
You'll be working with three main pieces of hardware for your video system:
- FPV Camera: As discussed, choose one that fits your needs (e.g., RunCam Phoenix 2, Caddx Ratel 2 for excellent all-around performance).
- Video Transmitter (VTX): Look for one compatible with SmartAudio or TrampHV for easy setup (e.g., TBS Unify Pro32 Nano, Rush Tank Solo, AKK FX2 Dominator). Consider its power output and physical size for your build.
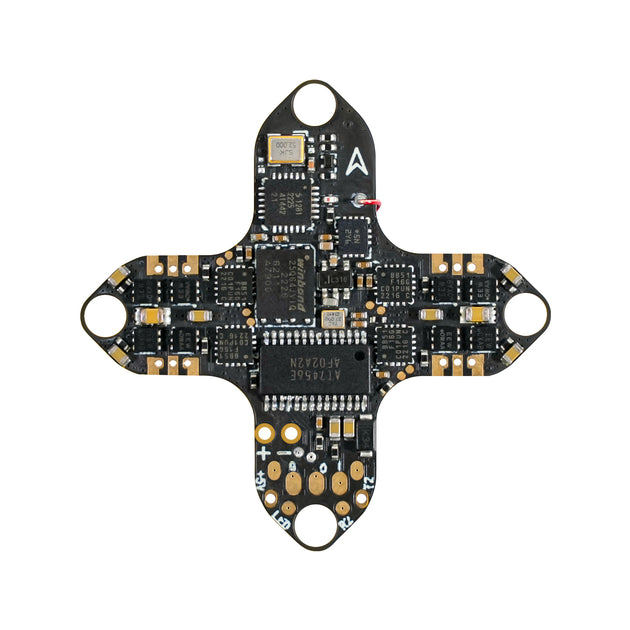
- Flight Controller (FC): This is the brain of your drone. It will provide power to your VTX and camera, and facilitate OSD (On-Screen Display) and VTX control. Modern FCs typically have dedicated pads for VTX and camera connections.
The Right Tools for a Clean Build
Having the correct tools makes all the difference for a clean, reliable setup:
- Soldering Iron & Solder: A good quality iron with a fine tip is essential for precise soldering. Use leaded solder for easier joints.
- Flux: Helps solder flow better and creates cleaner connections.
- Heat Shrink Tubing: For insulating soldered joints and protecting wires.
- Multimeter: Absolutely crucial for checking continuity, voltage, and diagnosing shorts.
- Helping Hands/Third Hand: Holds components steady while you solder, freeing up your hands.
- Wire Strippers & Cutters: For preparing your wires.
- Tweezers: For manipulating small components and wires.
- Isopropyl Alcohol & Cotton Swabs: For cleaning flux residue.
Understanding Your Wiring Diagrams
Before you make any connections, always consult the wiring diagrams provided by the manufacturers of your specific VTX, camera, and flight controller. These diagrams are your most important resource.
- Cross-Reference: Compare the pinouts on your VTX/camera to the available pads on your FC.
- Identify Pads: Look for
VCC(power),GND(ground),V_OUT(video output from camera),V_IN(video input to VTX),SA(SmartAudio) orTR(TrampHV) pads. - Voltage: Pay close attention to recommended voltage inputs for your components.
The VTX Wiring Blueprint: Powering Your Video Link
Connecting your VTX correctly is paramount for a stable and clear video feed.
Connecting Power, Ground, and Video Out to Your FC
Most VTXs will have at least three essential wires: Power, Ground, and Video Input.
-
Power (VCC): This wire supplies power to your VTX.
- VTX Input Voltage: Check your VTX's specifications. Some VTXs can handle full battery voltage (VBAT, typically 2S-6S), while others require a regulated 5V, 9V, or 12V supply.
- FC Connection: Connect the VTX's power wire to the appropriate power pad on your flight controller. If your VTX supports VBAT, connect it to a
VBATpad. If it requires 5V, connect it to a5Vpad. Many FCs also have dedicatedVTX+pads that provide a filtered voltage, which is ideal. - Practical Tip: Using a dedicated, filtered VTX power pad on your FC (if available) can significantly reduce noise in your video feed.
-
Ground (GND): This is the common ground for the circuit.
- FC Connection: Connect the VTX's ground wire to any
GNDpad on your flight controller. Ensure it's a solid connection.
- FC Connection: Connect the VTX's ground wire to any
-
Video In (VI/V_IN): This wire receives the video signal from your camera.
- FC Connection: Connect the VTX's video input wire to the
V_OUT(Video Output) pad on your flight controller. The FC acts as a passthrough, often also injecting OSD information onto this line.
- FC Connection: Connect the VTX's video input wire to the
SmartAudio & TrampHV: Seamless VTX Control
SmartAudio (TBS) and TrampHV (ImmersionRC) are digital protocols that allow you to control your VTX settings (power, channel, band, pit mode) directly from your Betaflight OSD or your FPV goggles' menu. This is a massive convenience compared to fiddling with tiny buttons on the VTX.
- Connection: Locate the
SA(SmartAudio) orTR(TrampHV) wire on your VTX. Connect this wire to an unusedTX(Transmit) pad of a UART (Universal Asynchronous Receiver-Transmitter) on your flight controller. For example, if you connect it toTX2, you'll configure UART2 for VTX control in Betaflight. - Practical Tip: Always double-check your FC manual to identify available UART TX pads. Make sure you don't accidentally connect it to an RX pad, as this won't work.
Antenna Installation: Maximizing Signal Strength
Your VTX antenna is critical for signal quality.
- Secure Connection: Ensure your antenna (typically SMA or MMCX) is screwed on tightly to the VTX connector. A loose connection can cause severe signal degradation and even damage your VTX.
- Orientation: Mount your antenna so it's as unobstructed as possible, ideally vertically, away from carbon fiber or large metal components.
- Never Power Without Antenna: Crucially, never power on your VTX without an antenna attached. Doing so can permanently damage the VTX's RF amplifier due to reflected power.
- Protection: Use heat shrink or a 3D-printed mount to secure the antenna connector and cable, protecting it from prop strikes and crash damage.
FPV Camera Wiring: Bringing Your View to Life
Connecting your FPV camera is straightforward, but attention to detail ensures a clear, stable image.
Power, Ground, and Video In: The Camera's Lifelines
Most FPV cameras have three primary wires: Power, Ground, and Video Output.
-
Power (VCC): This wire supplies electricity to your camera.
- Camera Input Voltage: Check your camera's specifications. Many FPV cameras operate on a wide voltage range (e.g., 5V-36V, like the RunCam Phoenix 2), while others might be 5V only.
- FC Connection: Connect the camera's power wire to an appropriate power pad on your flight controller. A dedicated
5Vor9Vpad on the FC is often ideal, as these are typically filtered and provide a stable voltage. If your camera supports higher voltage (e.g., up to 36V), you could technically connect it to VBAT, but a regulated, filtered supply is generally preferred for cleaner video. - Practical Tip: If your FC has a dedicated 9V or 12V output for the camera, use it! It's often cleaner than 5V and provides ample power.
-
Ground (GND): The common ground for the camera.
- FC Connection: Connect the camera's ground wire to any
GNDpad on your flight controller, preferably one close to where you connected the camera's power.
- FC Connection: Connect the camera's ground wire to any
-
Video Out (VO/V_OUT): This wire carries the raw video signal from the camera.
- FC Connection: Connect the camera's video output wire to the
V_IN(Video Input) pad on your flight controller. This is where the FC receives the video signal before adding OSD elements and passing it to the VTX.
- FC Connection: Connect the camera's video output wire to the
Advanced Camera Control Options (If Applicable)
Some cameras, like certain RunCam or Caddx models, offer additional features:
- Joystick Control: Many cameras come with a small joystick or breakout board to access and adjust their internal settings. You'll typically connect this directly to the camera for initial setup.
- FC-Based Camera Control: Advanced cameras (e.g., RunCam Split or some digital FPV cameras) can have their settings adjusted via the flight controller through a dedicated data wire connected to a UART TX pad, similar to SmartAudio. This allows you to change settings from your Betaflight OSD.
Secure Mounting and Protection Tips
- Clear View: Mount your camera securely in your drone frame, ensuring a clear, unobstructed view without props in the frame (unless desired for specific freestyle shots).
- Angle: Set your camera angle according to your flying style (e.g., 20-30 degrees for cruising, 30-45+ degrees for aggressive freestyle or racing).
- Protection: Utilize TPU 3D-printed mounts or robust frame designs to protect your camera from impacts during crashes. A well-placed zip tie can also add extra security.
Configuring for Clarity: Betaflight & OSD Settings
With your hardware wired, it's time to bring it to life in Betaflight.
Setting Up Your VTX in Betaflight (Protocols & Power)
- Connect to Betaflight Configurator: Plug your FC into your computer and open Betaflight Configurator.
- Ports Tab: Navigate to the "Ports" tab.
- Find the UART (e.g., UART2) to which you connected your VTX's SmartAudio/TrampHV wire.
- In the "Peripherals" column for that UART, select "VTX (SmartAudio)" or "VTX (Tramp)" depending on your VTX's protocol.
- Click "Save and Reboot."
- VTX Tab: Once rebooted, go to the "VTX" tab.
- VTX Table: Enable "Enable VTX (SmartAudio/Tramp)" at the top. You might need to load a VTX table if your VTX isn't automatically detected or if you want custom power settings. Many VTX tables are pre-loaded or available online.
- Power & Channel: You can now manually set your VTX's band, channel, and power level.
- Pit Mode: Ensure "Pit Mode" is configured. This crucial feature keeps your VTX at a very low power (e.g., 0.01mW or 25mW) when armed, preventing interference with other pilots before your flight.
- Practical Tip: Always start with 25mW for initial testing and indoor flying. Only increase power when necessary and legally permitted for your flying area.
Personalizing Your On-Screen Display (OSD)
The Betaflight OSD allows you to overlay critical flight information directly onto your FPV feed.
- OSD Tab: Go to the "OSD" tab in Betaflight.
- Enable OSD: Ensure "Enable OSD" is checked.
- Arrange Elements: Drag and drop the desired elements onto the virtual screen. Essential elements include:
Main Batt Voltage(crucial for battery health)Current Draw(amps)Flight ModeTimerRSSI(Receiver Signal Strength Indicator)Craft Name
- Font Upload: If your OSD looks garbled or you want custom fonts, click "Upload Font" and select a Betaflight OSD font.
- Practical Tip: Don't clutter your OSD with too much information. Focus on what's critical for safe and informed flying.
Fine-Tuning FPV Camera Settings for Optimal Image
Most FPV cameras have internal settings that can be adjusted for optimal image quality in different lighting conditions.
- Accessing Settings:
- OSD Stick Commands: For many cameras connected to an FC, you can access the camera's OSD menu directly through your FPV goggles using stick commands (e.g., throttle up, yaw left, pitch forward to enter the menu). Refer to your camera's manual for specific commands.
- Dedicated Joystick: If your camera came with a small joystick, connect it temporarily to adjust settings.
- Key Settings to Adjust:
- Exposure: Controls brightness. Adjust for varying light.
- White Balance: Ensures colors look natural. Auto White Balance usually works well.
- WDR (Wide Dynamic Range): Helps balance bright and dark areas in the image, crucial for flying in challenging light (e.g., against the sun).
- Sharpness & Contrast: Personal preference for image detail.
- Aspect Ratio: Ensure it matches your goggles (4:3 or 16:9).
- Practical Tip: Adjust camera settings outdoors in the lighting conditions you'll typically fly in. What looks good indoors might be too dark or too bright outside.
Troubleshooting Common FPV Video Headaches
Even with careful setup, you might encounter issues. Here's how to tackle common FPV video problems.
Diagnosing No Video or Black Screen Issues
- Check Power: Use a multimeter to verify your VTX and camera are receiving the correct voltage. Check continuity for power and ground wires.
- Video Signal Continuity: Ensure the video signal wire (camera V_OUT to FC V_IN, and FC V_OUT to VTX V_IN) has continuity and isn't shorted.
- VTX/RX Channel Match: Double-check that your VTX and FPV goggles are on the exact same band and channel. Even a slight mismatch can result in a black screen or heavy static.
- Goggles Functionality: Test your goggles with another known working FPV source if possible.
- Practical Tip: A common mistake is swapping V_IN and V_OUT on the FC. Ensure camera V_OUT goes to FC V_IN, and VTX V_IN goes to FC V_OUT.
Eliminating Static, Lines, and Image Interference
- Power Noise: This is a very common culprit.
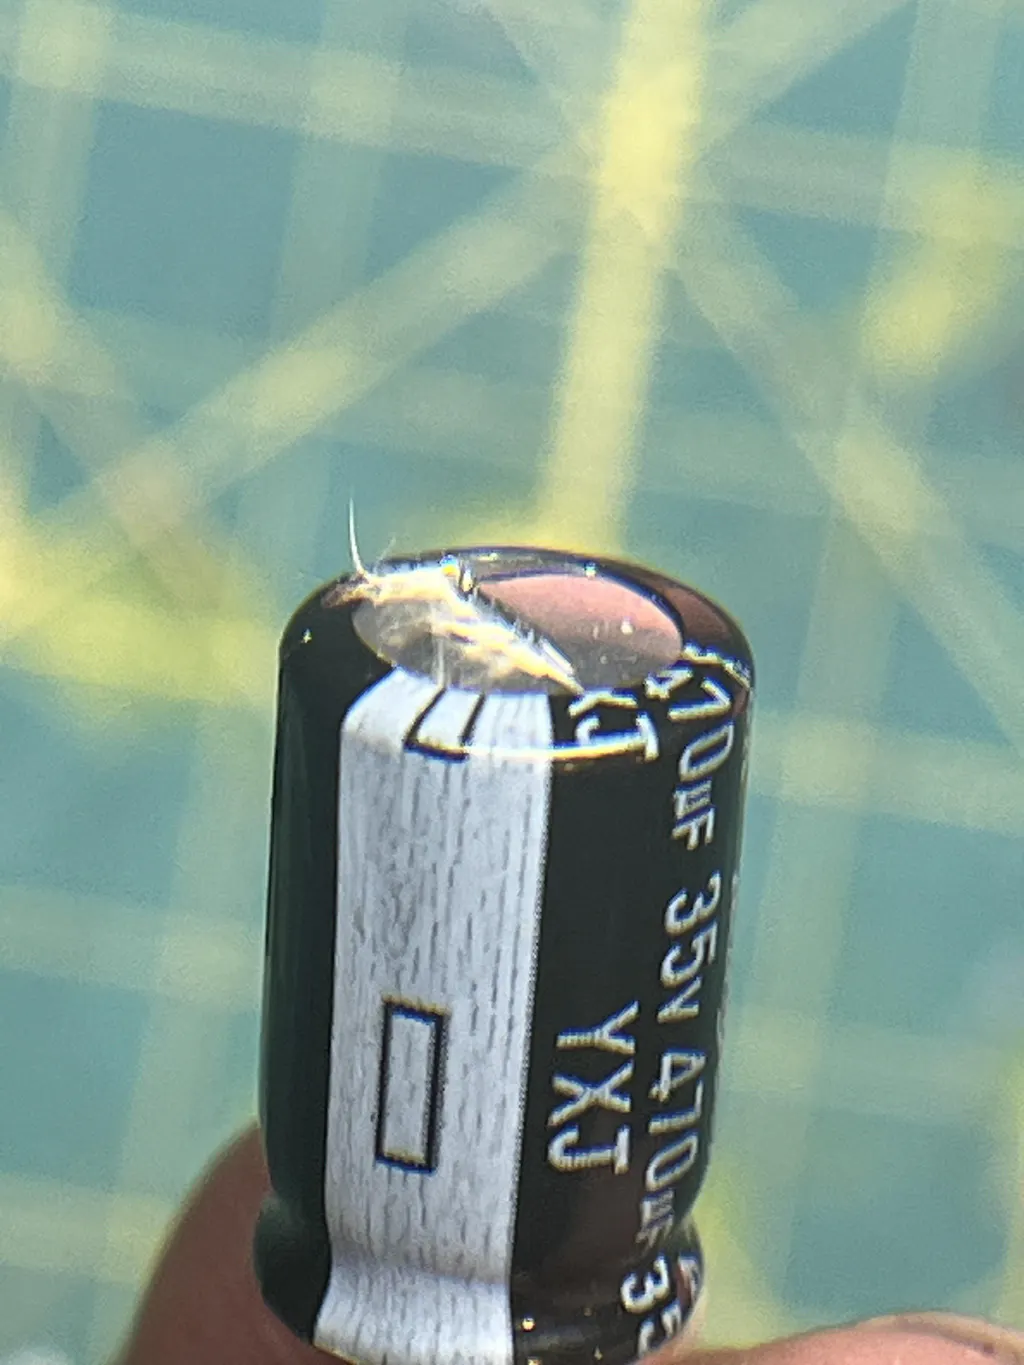
- Capacitor: Solder a low ESR (Equivalent Series Resistance) capacitor (e.g., 1000uF 35V for 4S, 1000uF 50V for 6S) across the main battery pads on your FC or ESC board. This filters out voltage spikes and noise.
- Filtered Power: Ensure your VTX and camera are powered from filtered 5V/9V/12V pads on your FC, not directly from noisy VBAT (unless the VTX explicitly filters its own input well).
- Antenna Issues:
- Loose Connections: Tighten VTX and RX antenna connections.
- Damaged Antennas: Inspect antennas for bends, breaks, or worn-out connectors. Try swapping with a known good antenna.
- Placement: Ensure antennas are not obstructed by carbon fiber or other electronics.
- Wiring:
- Braided Wires: Braid your camera and VTX power/ground wires to reduce electromagnetic interference (EMI).
- Separation: Keep signal wires away from high-current power wires (e.g., ESC wires).
- Practical Tip: If you see horizontal lines that change with motor throttle, it's almost certainly power noise. A capacitor is usually the first and best solution.
Resolving OSD Glitches and Missing Information
- Font Upload: If OSD text is garbled, re-upload the Betaflight OSD font.
- OSD Settings: Double-check your OSD tab settings in Betaflight. Ensure elements are enabled and not off-screen.
- VTX Protocol: Verify the correct VTX protocol (SmartAudio/Tramp) is selected in the Ports tab.
- Power: Ensure the FC has stable power, as OSD chip issues can sometimes be power-related.
Preventing Power-Related Burnouts and Failures
- Check Voltage Compatibility: Always verify the maximum input voltage for your VTX and camera before connecting them. Connecting a 5V-only device to VBAT (e.g., 25V for 6S) will instantly fry it.
- Avoid Shorts: Double-check all solder joints for bridges or stray solder balls that could cause a short circuit. Use a multimeter in continuity mode to test.
- Smoke Stopper: Always, always, always use a smoke stopper for the very first power-up of a new build or after major wiring changes. This inexpensive device limits current, preventing damage if there's a short.
- Current Limiting Power Supply: For advanced builders, a current-limiting bench power supply is an excellent tool for safely testing components.
- Practical Tip: "Measure twice, cut once" applies to soldering as well. Take your time, inspect your work, and use a smoke stopper.
Choosing Your FPV Eyes: VTX & Camera Selection Tips
Making informed choices when buying your VTX and camera can save you headaches later.
What to Look for in an FPV Camera (Sensor, Lens, Latency)
- Sensor Type: Modern CMOS sensors (e.g., RunCam Phoenix 2, Caddx Ratel 2) offer excellent image quality, especially in low light, with very low latency. While classic CCD sensors had a reputation for better dynamic range, CMOS has largely surpassed them for FPV.
- Lens & FOV: A 2.1mm lens offers a wide field of view (around 150-160 degrees), great for general flying. A 2.3mm or 2.5mm lens provides a slightly narrower, more detailed view.
- Latency: For racing or aggressive freestyle, prioritize cameras with sub-20ms latency. Most modern cameras are good in this regard.
- NTSC/PAL: Most cameras support both. Ensure your goggles also support both or match your camera's output.
- Mounting Size: Common sizes are Micro (19x19mm), Mini (21x21mm), and Nano (14x14mm). Choose one that fits your frame.
Selecting the Right VTX for Your Drone (Power, Size, Features)
- Output Power (mW):
- 25mW: Standard for indoor flying, racing events (to avoid interference), and short-range outdoor.
- 200mW - 600mW: Good all-around power for most outdoor freestyle and general flying.
- 800mW - 1W+: For long-range, flying in challenging environments with obstacles, or when maximum penetration is needed. Be mindful of heat and current draw.
- Size & Weight: For smaller drones (e.g., Whoops, Toothpicks), look for nano VTXs (e.g., TBS Unify Pro32 Nano). For 5-inch drones, larger VTXs (e.g., Rush Tank Solo) offer better cooling and features.
- SmartAudio/TrampHV: Highly recommended! This feature is a game-changer for convenience.
- Input Voltage: Ensure it's compatible with your drone's battery voltage or your FC's regulated output.
- Mounting: Some VTXs have specific mounting holes (e.g., 20x20mm, 30.5x30.5mm), while others are designed for direct soldering or zip-tying.
Ensuring Compatibility: A Crucial Check
- Voltage: The most critical compatibility check. Ensure your camera and VTX can handle the voltage supplied by your flight controller or battery.
- Mounting: Verify the physical dimensions and mounting holes of your VTX and camera match your drone frame.
- Analog vs. Digital: This guide focuses on analog FPV. Remember, analog cameras work only with analog VTXs and receivers. Digital FPV systems (DJI FPV, Walksnail, HDZero) use different cameras and VTXs and are not cross-compatible with analog.
Frequently Asked Questions (FAQ)
How do I know if my VTX and camera are compatible?
Check their voltage requirements and ensure the VTX supports the camera's video signal type (NTSC/PAL). Most modern components are broadly compatible, but always verify power input ranges.
What's the best way to power my VTX and camera?
Typically, directly from the flight controller's regulated 5V, 9V, or 12V pads. VBAT provides full battery voltage and can be used if your components support it, but regulated power is generally cleaner. Always check your component's specifications for the safe voltage range.
Can I use a digital FPV camera with an analog VTX?
No, digital FPV cameras (like those for DJI FPV, Walksnail, HDZero) transmit a digital signal that is incompatible with analog VTX systems. You must match a digital camera with a digital VTX/system, and an analog camera with an analog VTX.
Why is my FPV feed full of static?
Common causes include loose antenna connections, incorrect VTX/RX channel matching, power noise (often fixed with a capacitor across the main battery leads), or interference from other electronics. Check connections and settings first.
What is SmartAudio and why do I need it?
SmartAudio (or TrampHV) is a protocol that allows you to change your VTX settings (power, channel, band) directly from your FPV goggles or Betaflight OSD, eliminating the need for physical buttons on the VTX. It's a huge convenience for field adjustments and ensures you can quickly adapt to flying conditions or comply with local regulations.
Conclusion: Fly with Confidence, See with Clarity
Mastering your VTX and camera setup is a fundamental step towards enjoying FPV to its fullest. By following this guide, you've gained the knowledge to wire, configure, and troubleshoot your video system for a consistently clear and reliable FPV feed. From deciphering wiring diagrams to fine-tuning OSD settings and tackling pesky static, you're now equipped to achieve that "no-fuss, crystal-clear" FPV experience every pilot craves.
Now, go forth and fly with the confidence that your view will always be crystal-clear!
Ready to take your FPV piloting to the next level? Share your setup tips or ask questions in the comments below, and don't forget to check out our other FPV build guides!
Copyright-safe media generated locally by FPVLovers